
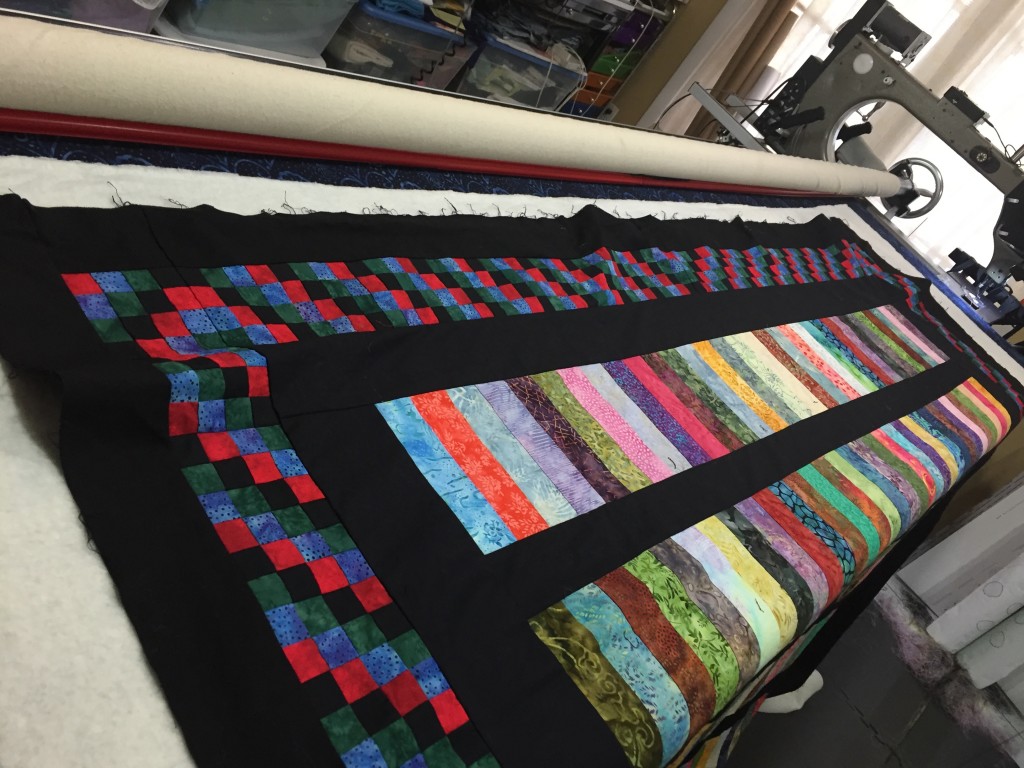
I don’t fully load my quilts, nor do I float my quilt tops. My loading process is a little different. I baste the quilt top to the backing fabric. This enables me to correct any issues and also allows me to roll the quilt back and forth as much as necessary while quilting.
Of course, first I measure all four sides of the quilt. On this client’s quilt, the top and bottom measurements were both 88”, one side was 89”, and one side was 92.25”. That is a bit of a difference.
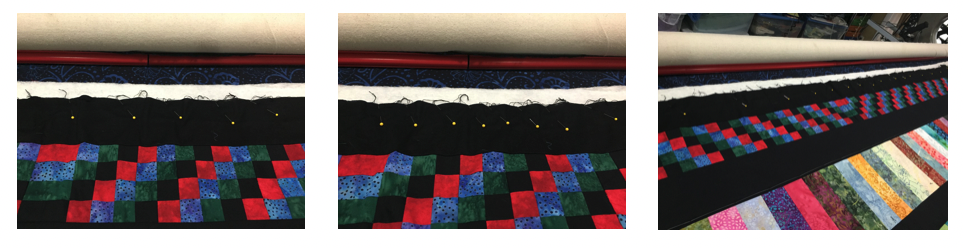
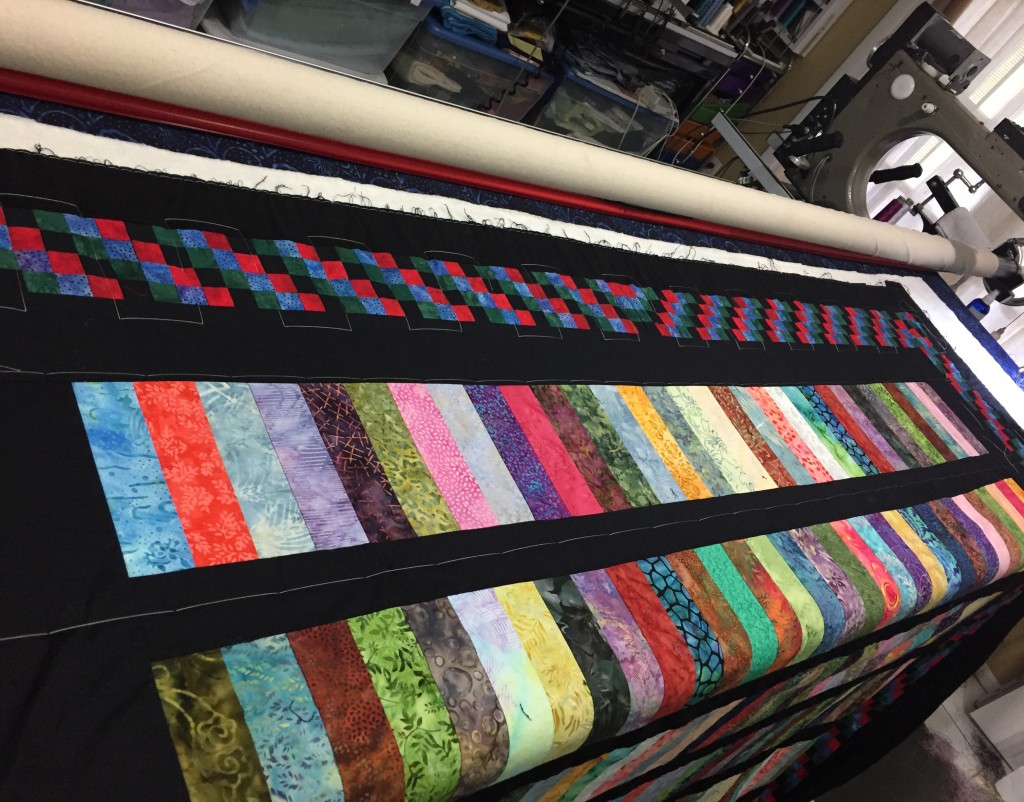
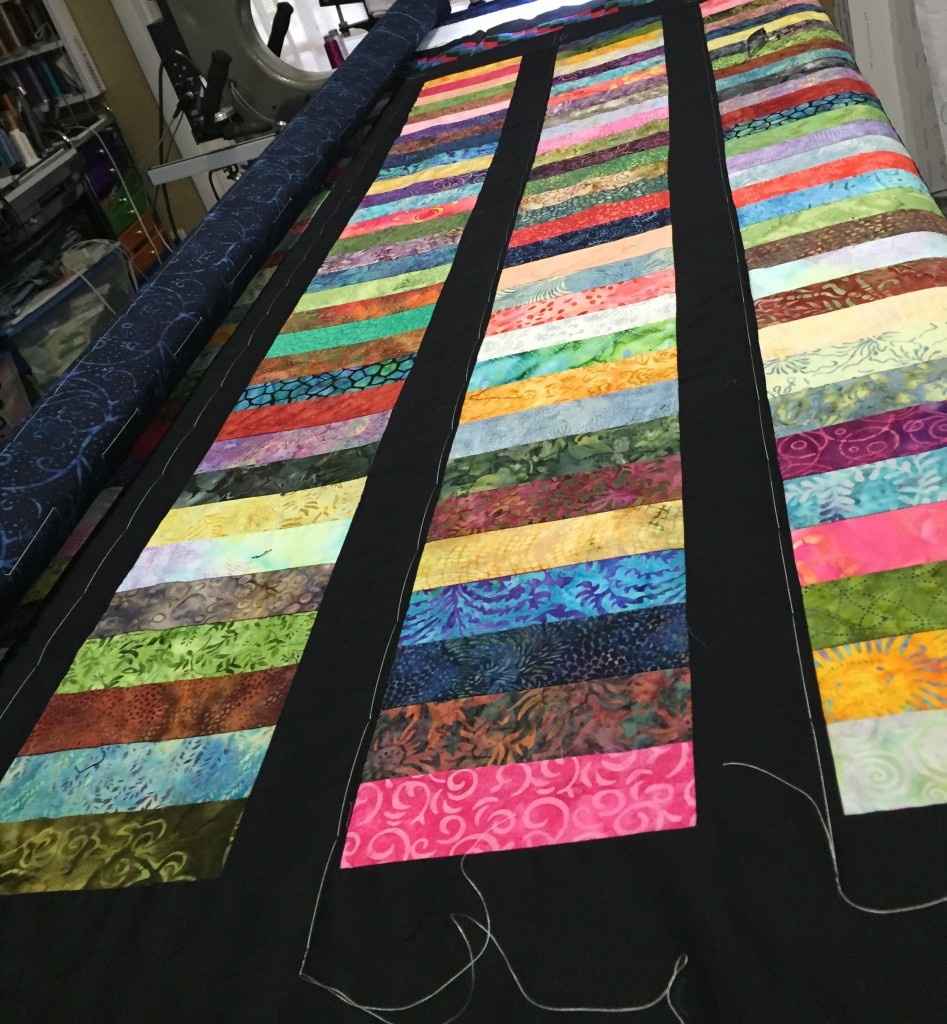
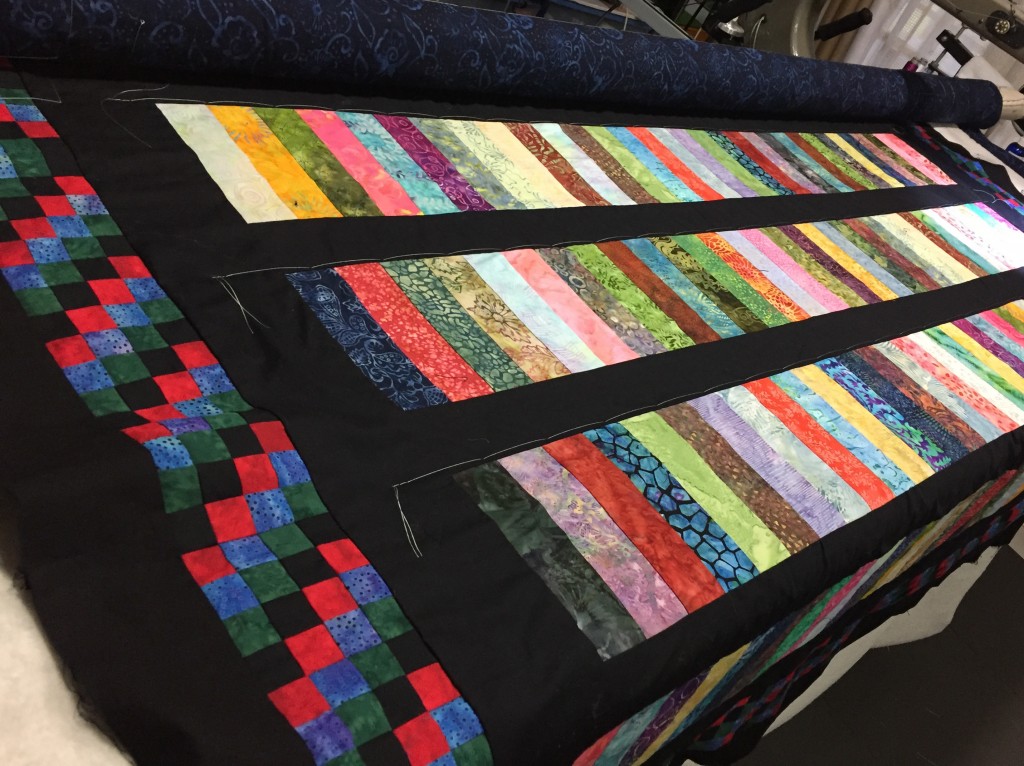
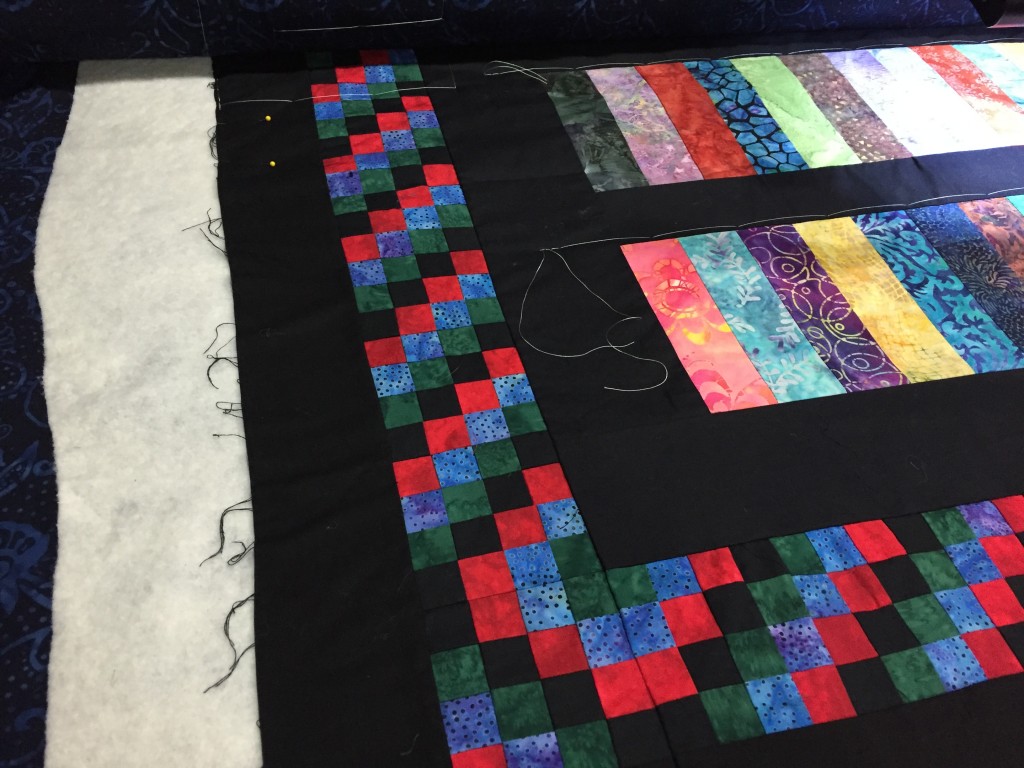
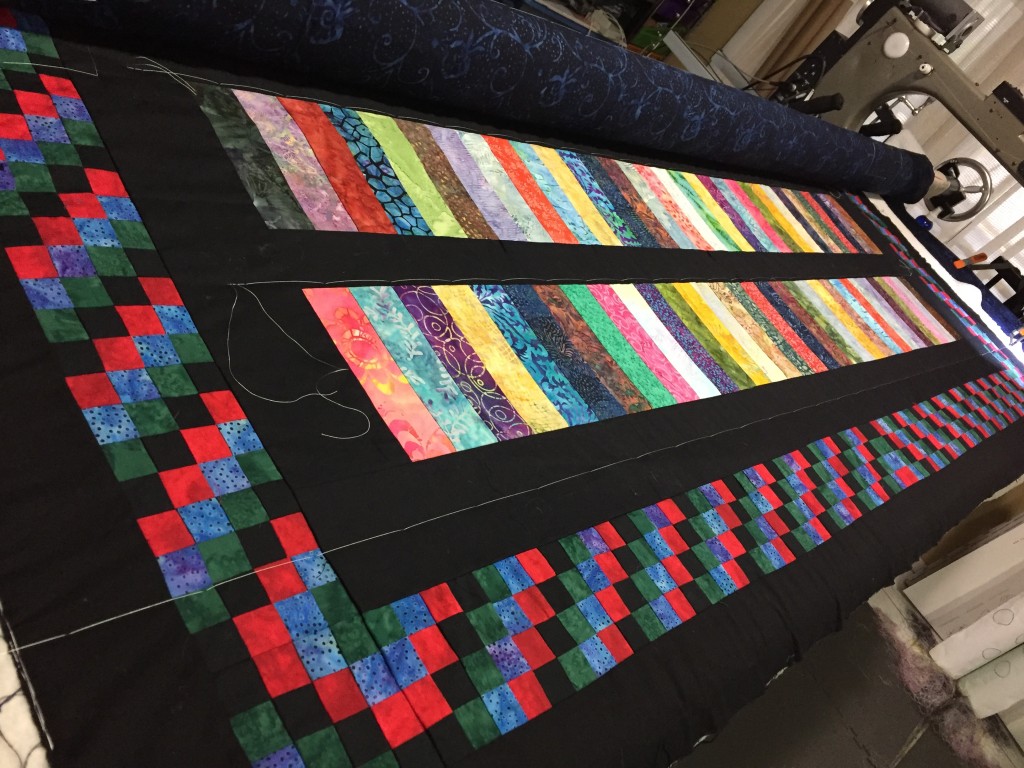
I start by loading the backing as normal. Then, I layout my batting. In this instance, I will be loading the quilt top sideways. I want to make sure that the long side is at the top of my frame. The purpose of this is that I am going to baste this side to equal 89” (the same as the opposite side) to keep the finished product square. I can’t make fabric appear, but I can make it disappear. I then mark the 89” with a pin at each end – 44.5” out each side from center. I will be placing the long side of the quilt top between these two pins (unfortunately, you can’t see the pins in the photo).
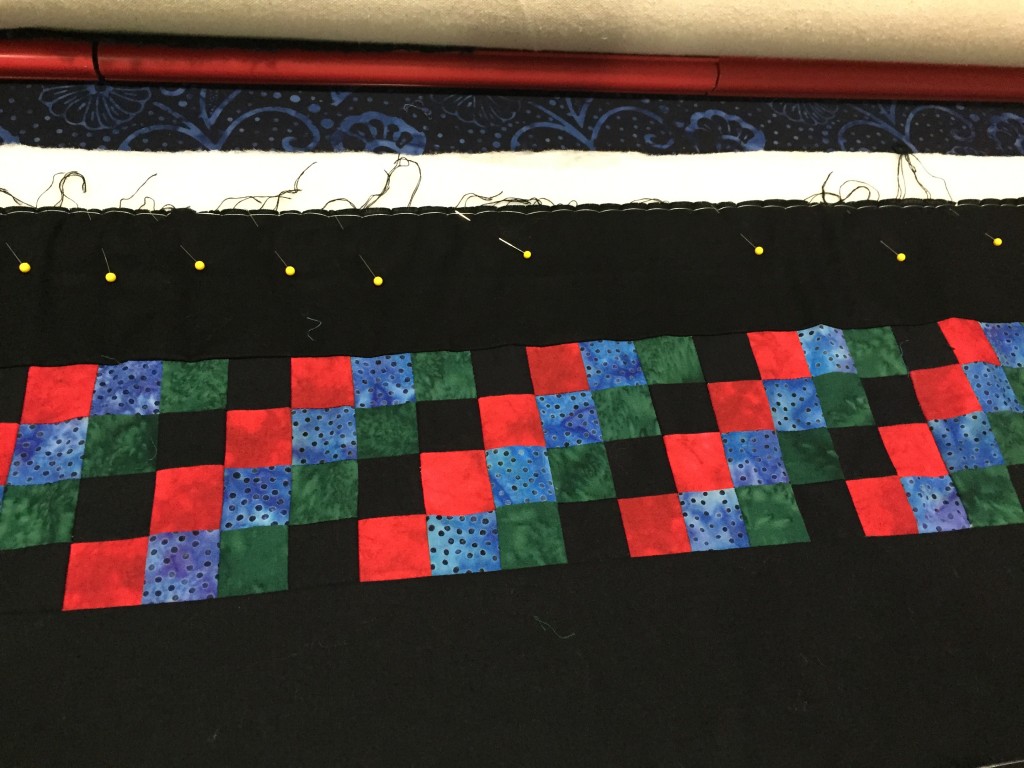
Using my horizontal channel lock, I baste a starting line across the batting and backing close to the top edge. This holds the batting in place as well as gives me a reference line for where to line up the edge of the quilt top.
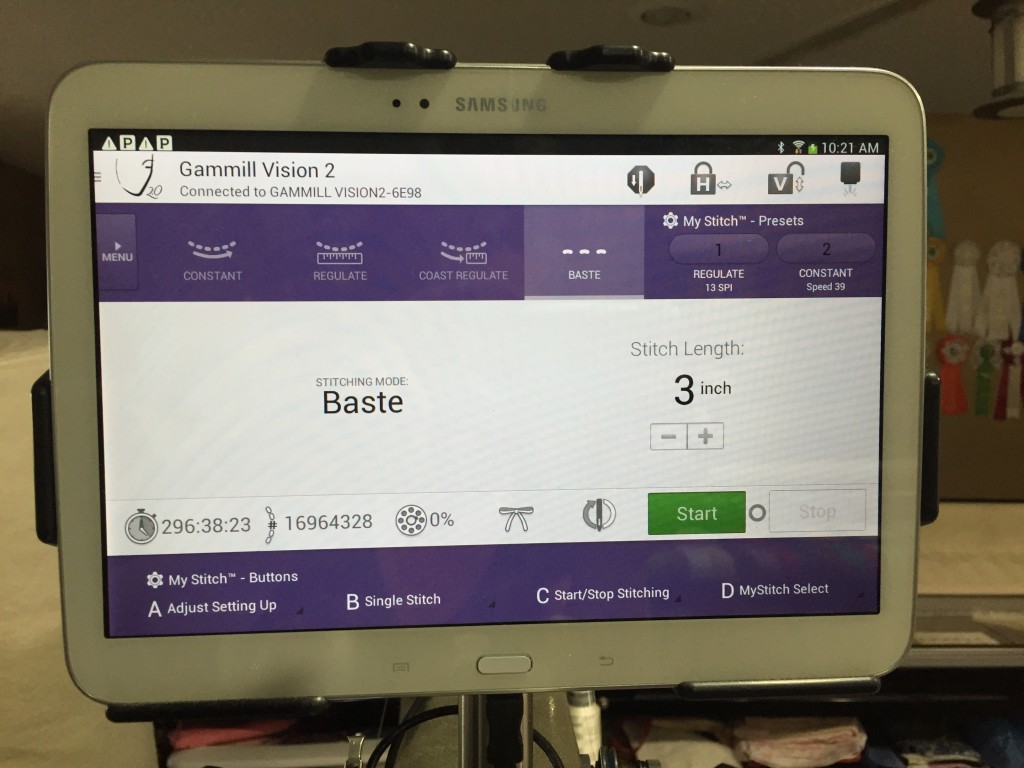
I then smooth the quilt top out as best as possible between the end pins. Then, I baste across the quilt top on a straight line of the quilt. This is usually not in the border. You’ll see in the next photo the straight line I am using is in the quilt body. My hopping foot serves as the guide. I engage my horizontal channel lock and have my Vision 2.0 set to baste at 3”.
Don’t worry about the excess fabric above the basting line. We will fix that momentarily.

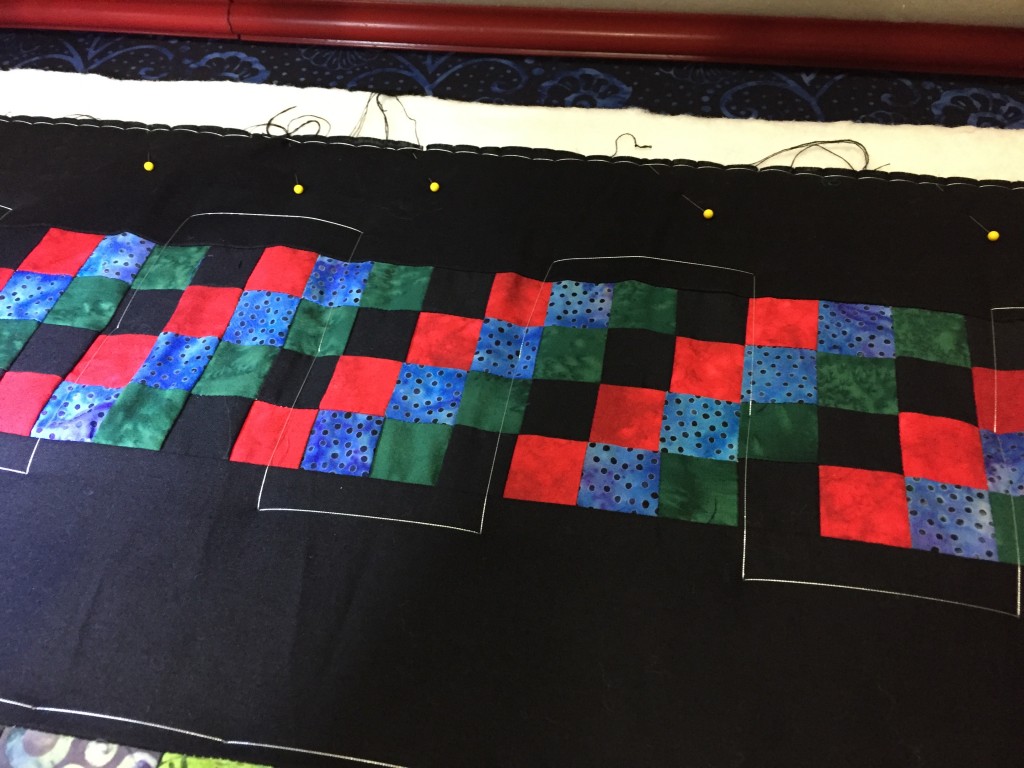
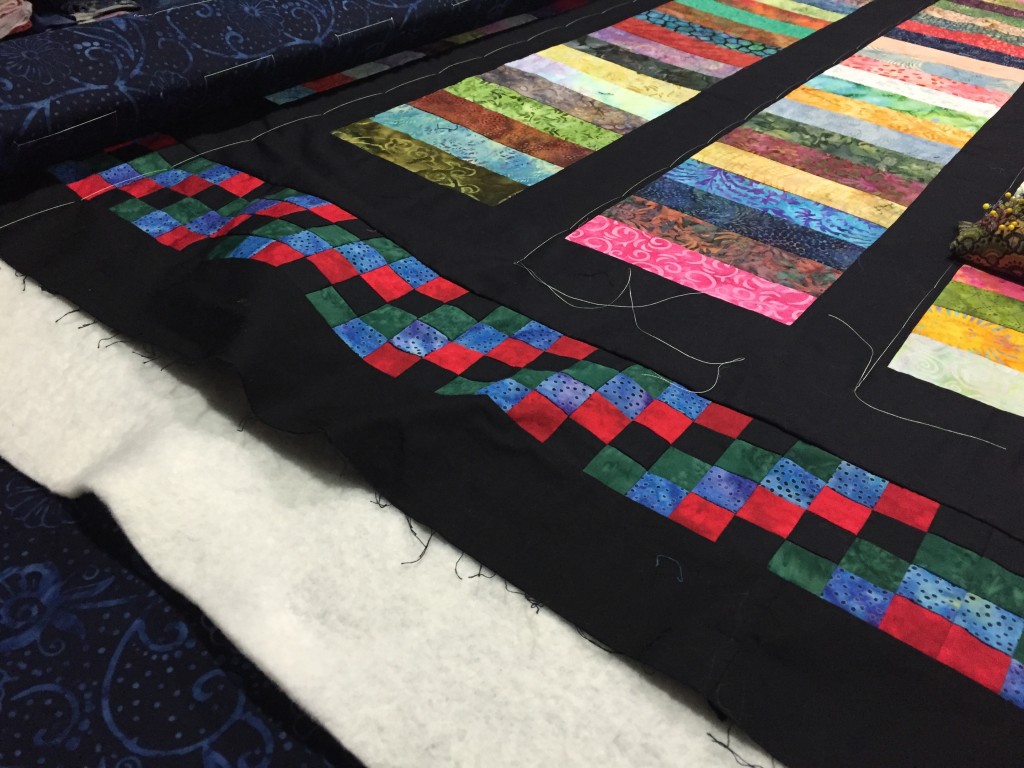
Once I know the quilt top is anchored on the straight line I can begin to work in the excess border fabric above it.
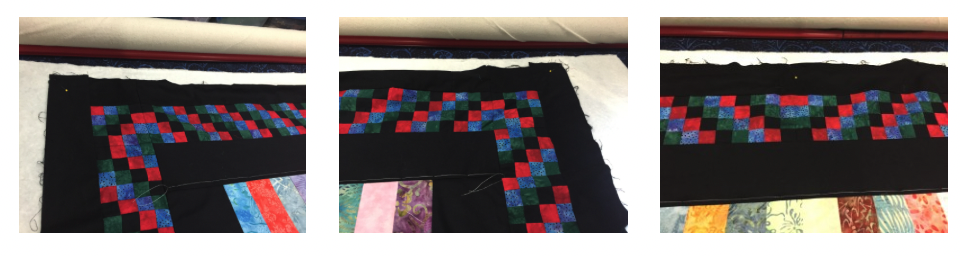
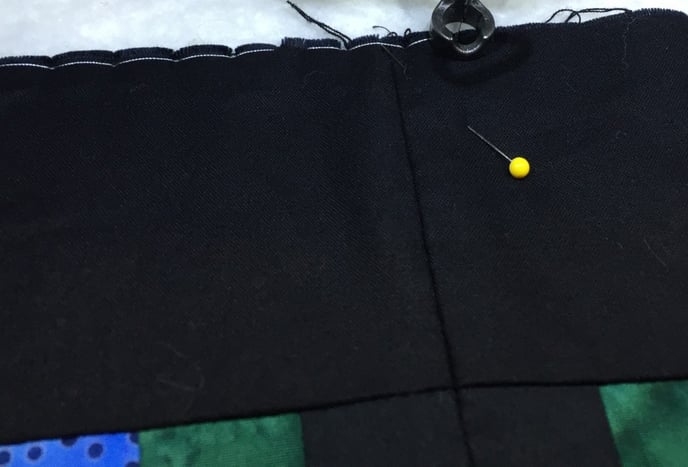
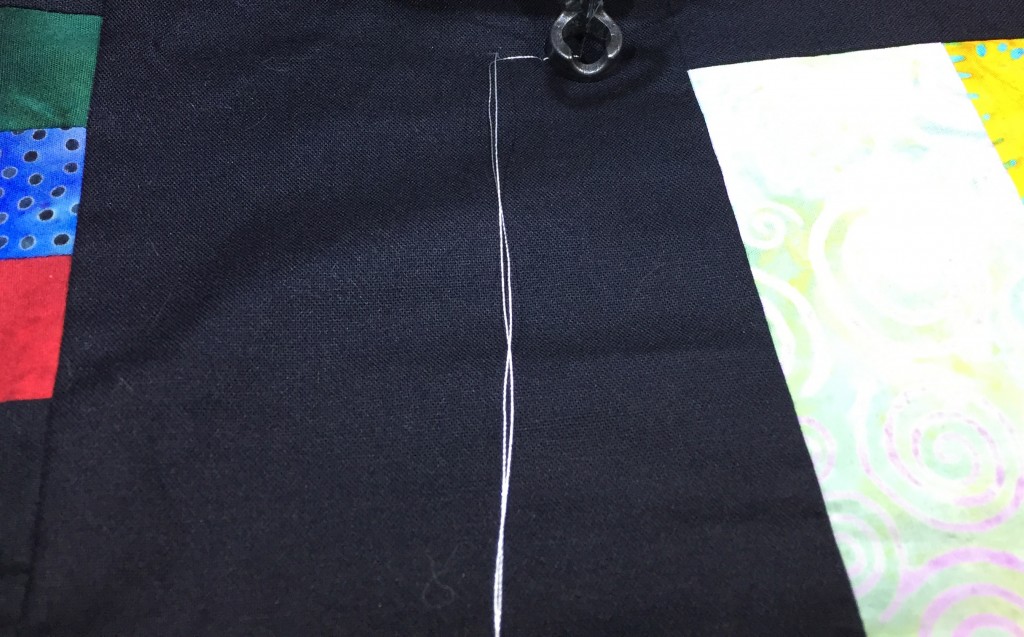
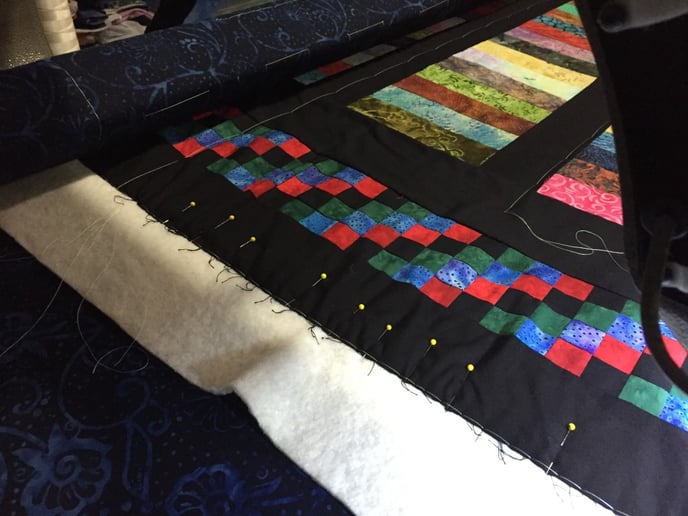
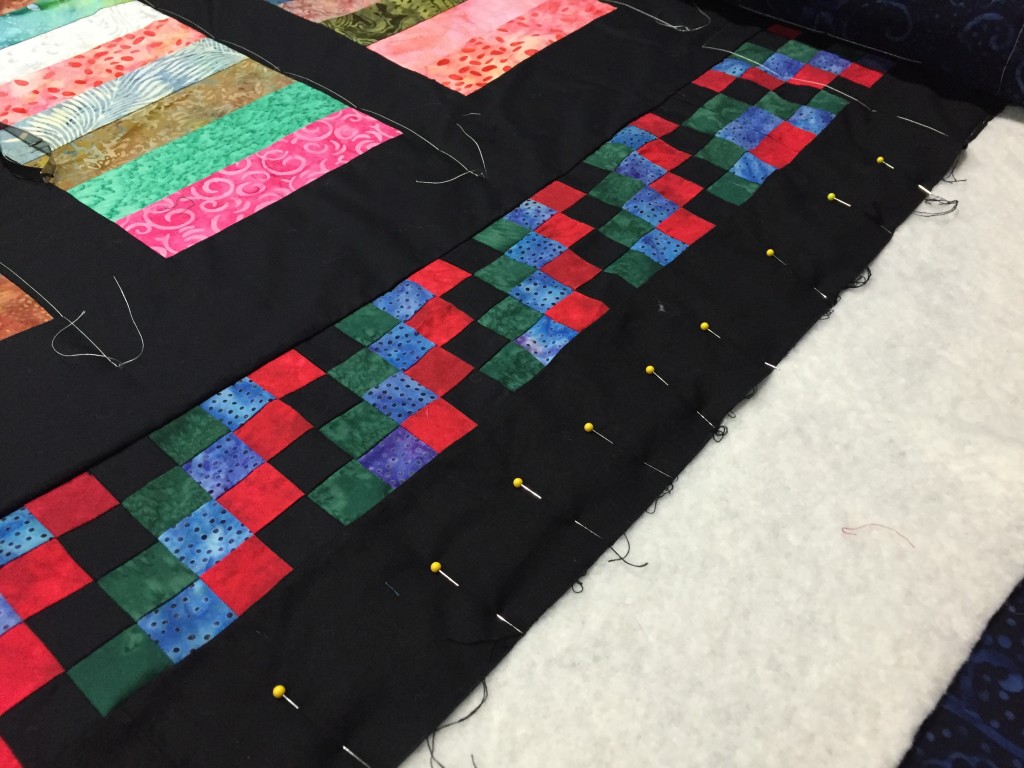
Using the first basting line in the batting as a reference point, I start by pinning the ends. I use the pins that were marking the 89” so that I know the edges won’t move. I then place a pin in the center.
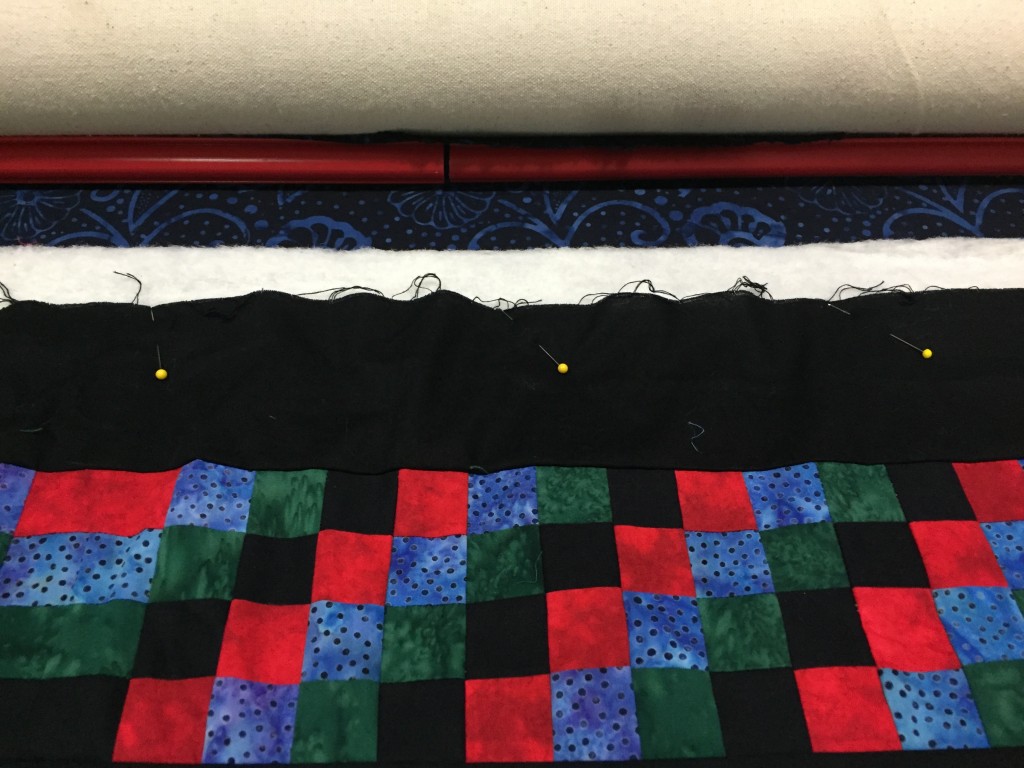
From this point I slowly start easing the fabric between each pin. I place a pin in the center area between the left edge pin and the center pin (you can do this by eye). Then, between those pins I place another pin, slowly working the excess fabric into place. You keep doing this until all the waviness has been controlled and is being held in place with the pins.
Now that the entire edge is pinned, I baste across the edge. I switch the baste stitch to ½ inch and use my horizontal lock. The edge should be just at the original basting line.
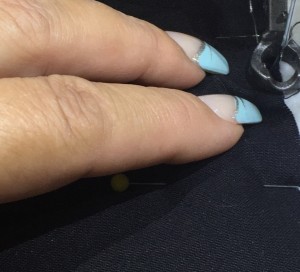
Using my fingers, I help to ease the fabric in the areas of extreme excess. You don’t want to push the fabric, this will cause creases and folds.

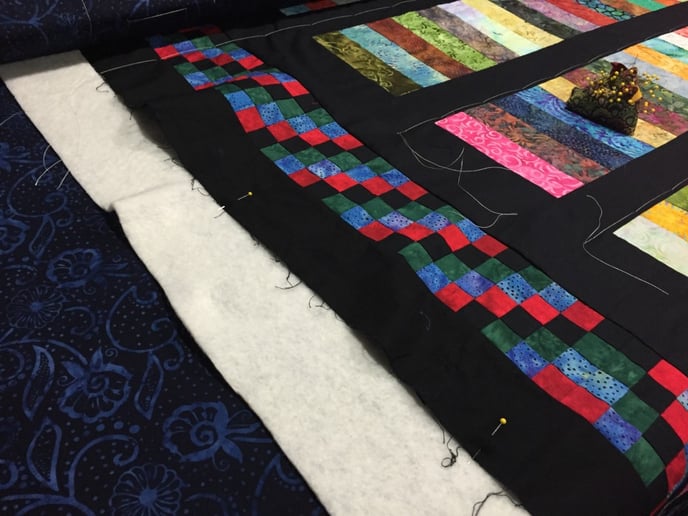
Now comes time to baste down the sides of the quilt top. As I have worked in the excess fabric to from 92.25” down to 89” the sides will also need to be eased in. Start in the same manner as across the top. Two pins, then a pin in the center. Then, keep adding pins until the excess is worked in.
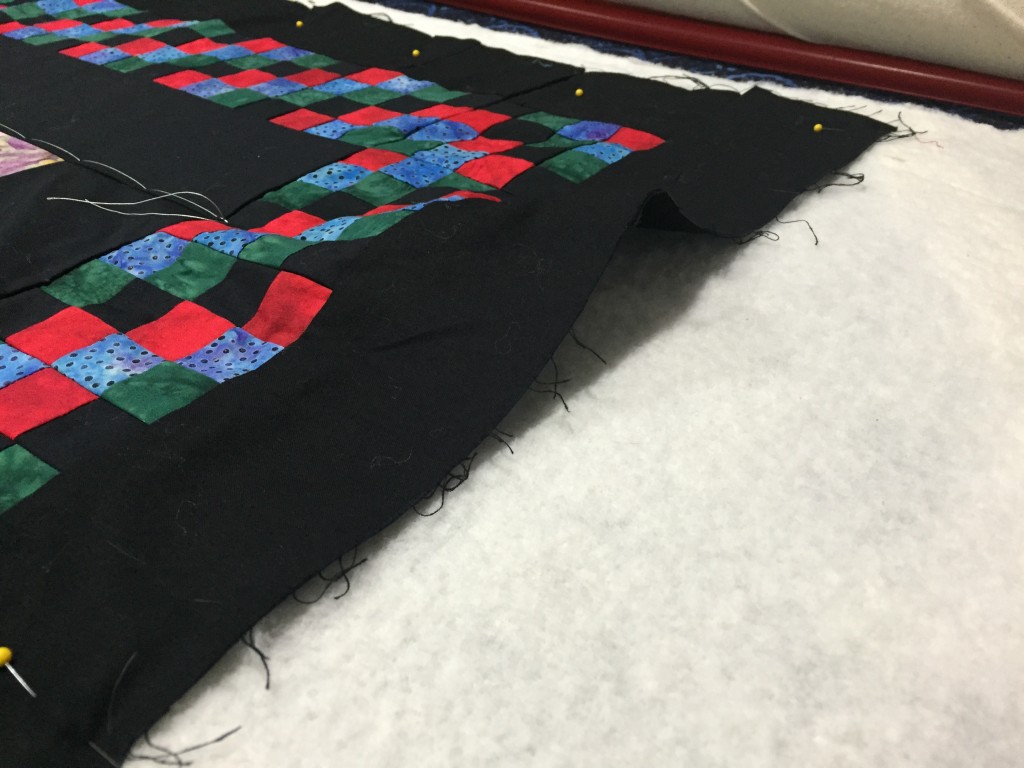
Do this on both sides of the quilt top.

I pin by eye, trying to stay as straight as possible. We will fix this when we baste down the side.

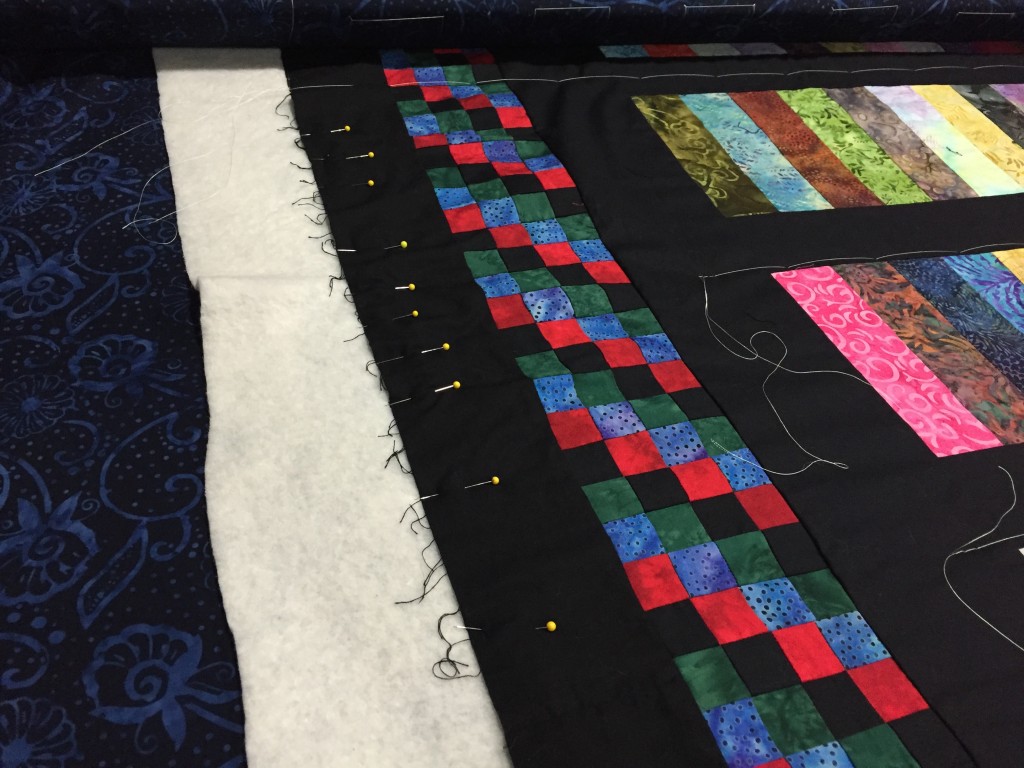
Now, we will set our vertical lock and baste down the side at 1/2″.
Again, use your fingers to ease any additional fabric between pinned areas. Repeat this process on both sides.
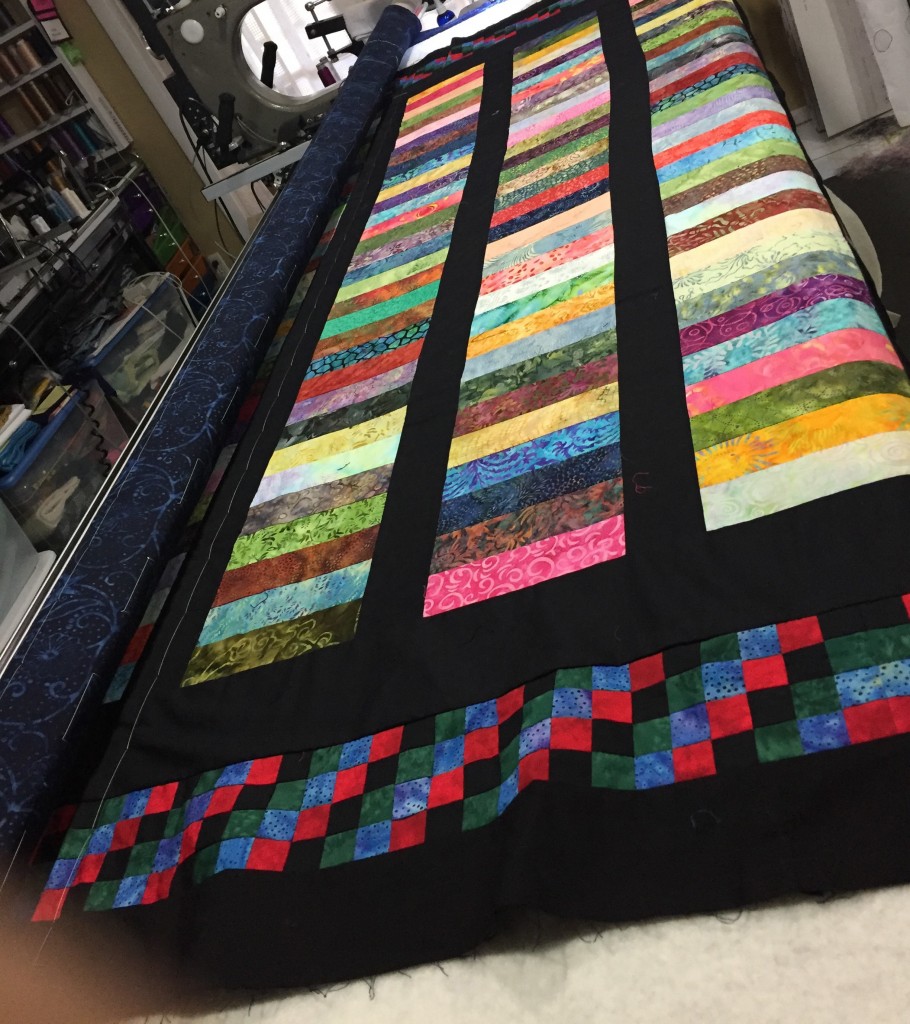
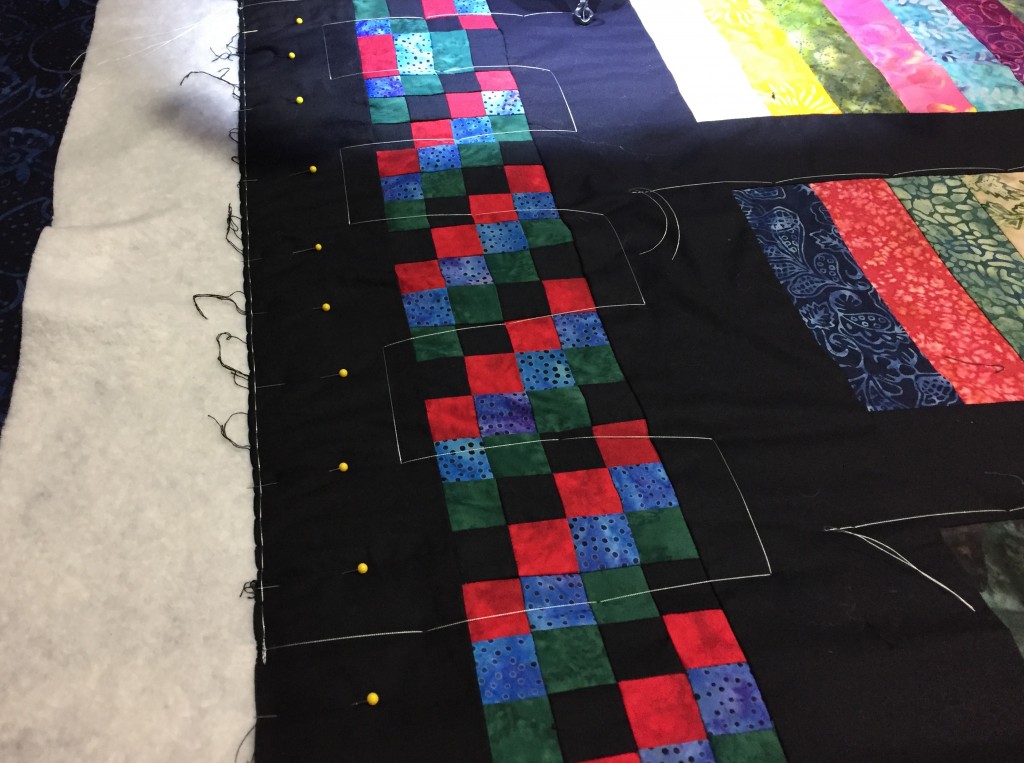
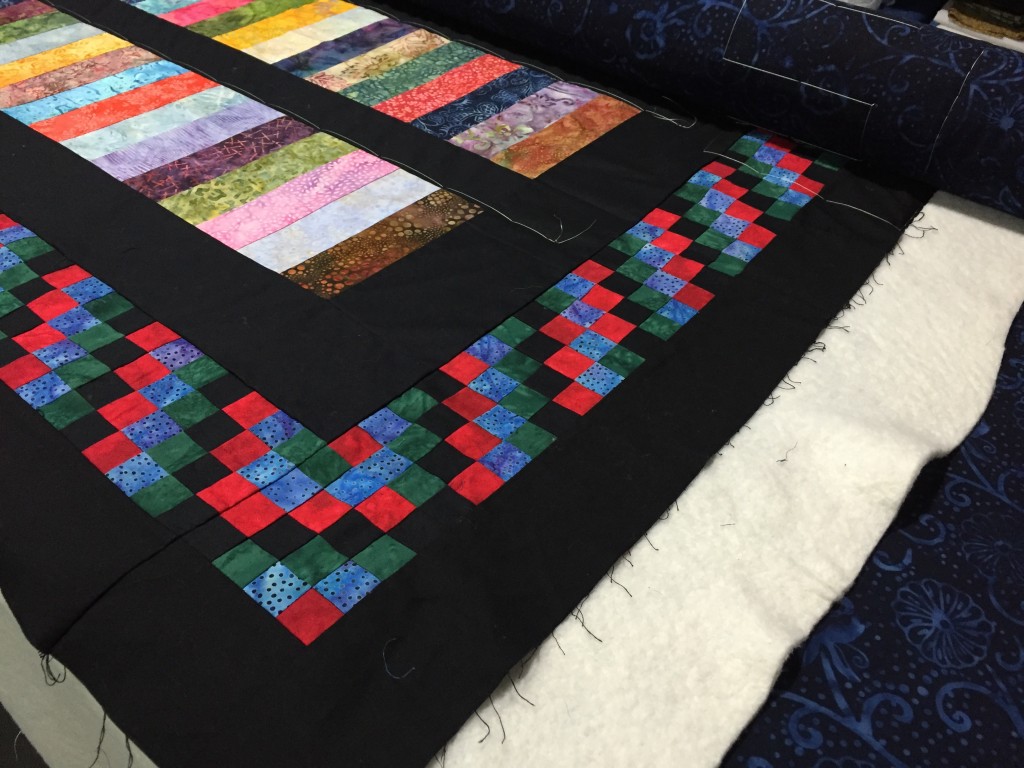
Now it is time to baste the border in place.
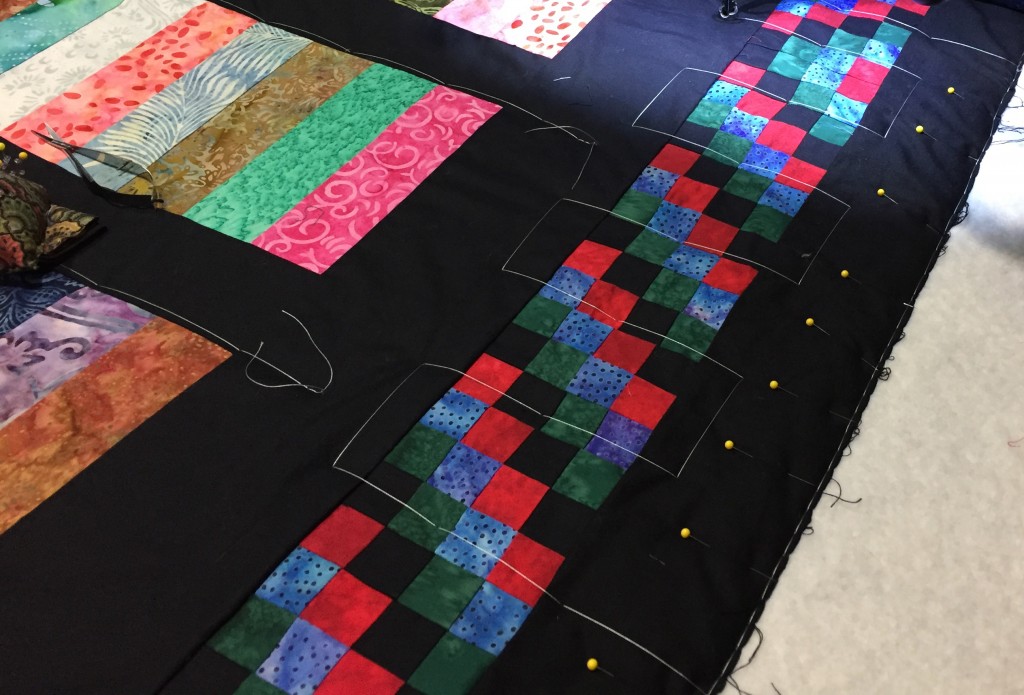
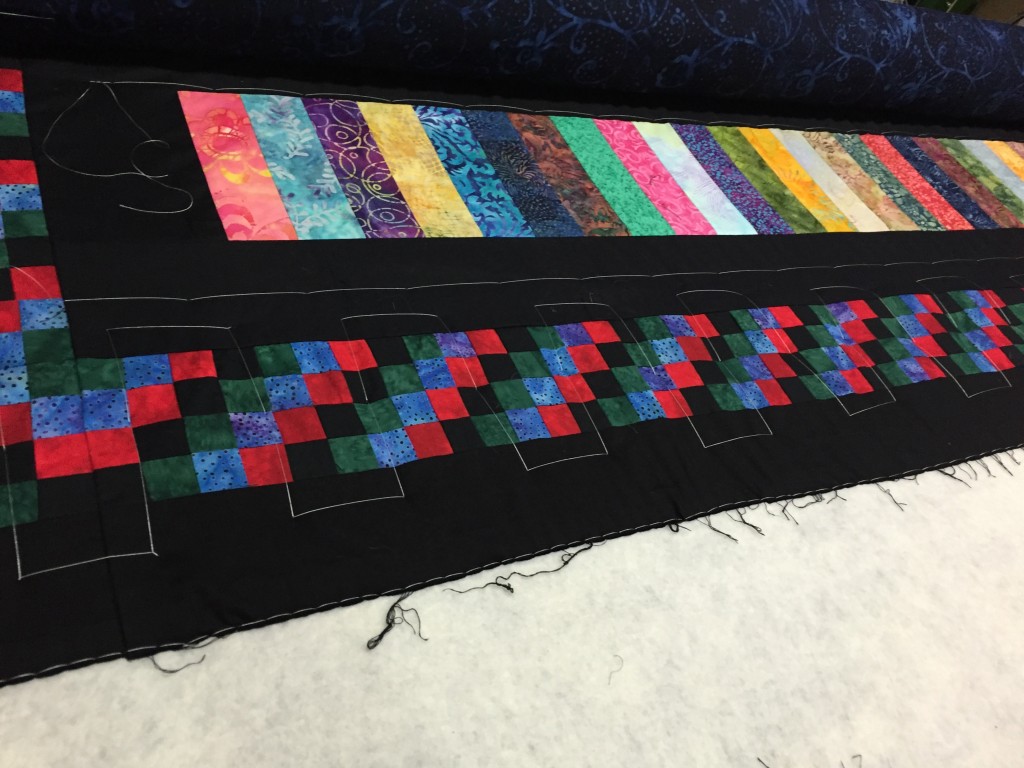
I have switched my basting back to 3”. On this border, I follow an over, down, down, over, up, up pattern. This will hold the squares straight until time to quilt.
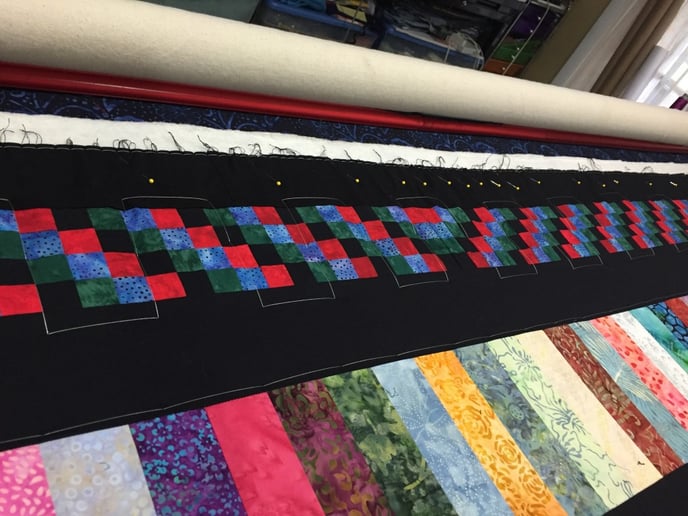
You will need to continue the border basting pattern down the sides.
I add one more row of basting stitches across the bottom area before removing all the pins and advancing.
Now that the entire area has been basted and all pins removed, we can advance the quilt top.
The first (and worst) part of the basting and squaring process is over! It seemed like a lot in photos, but really, it goes quite quickly.
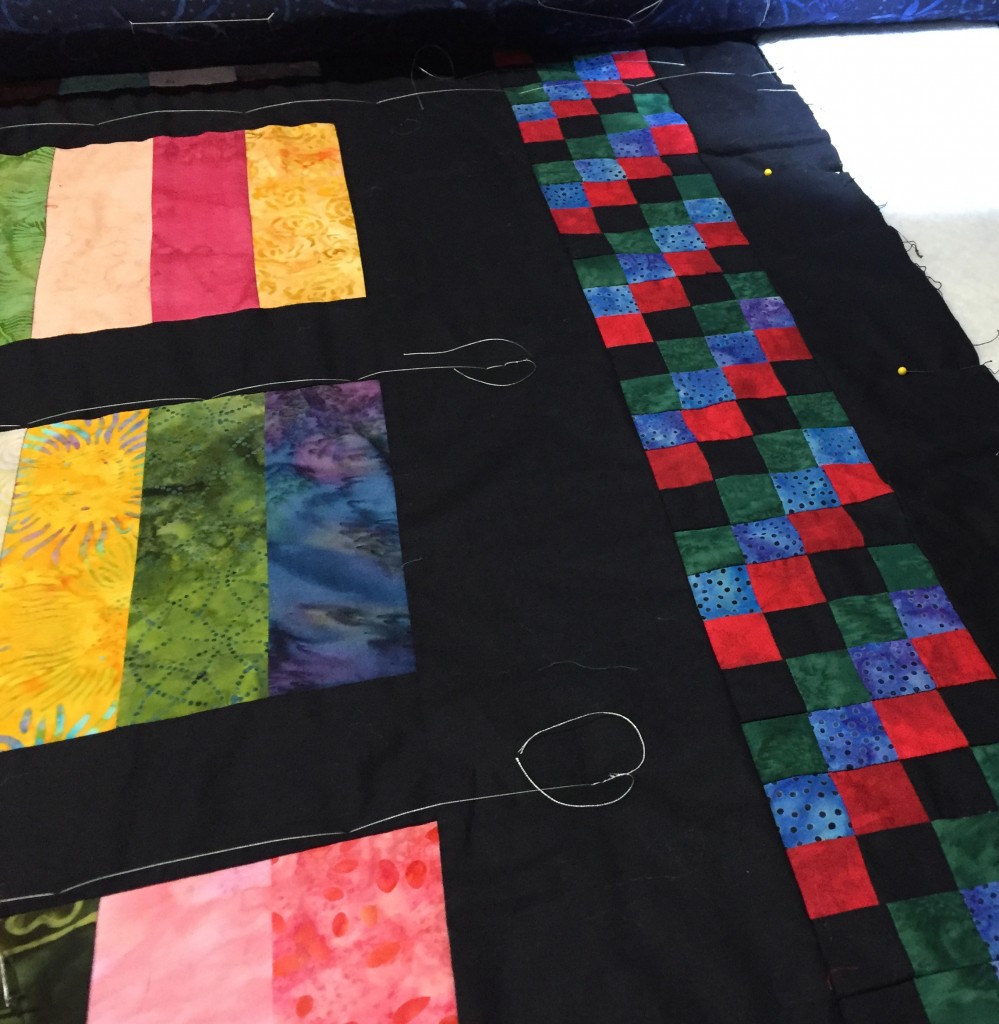
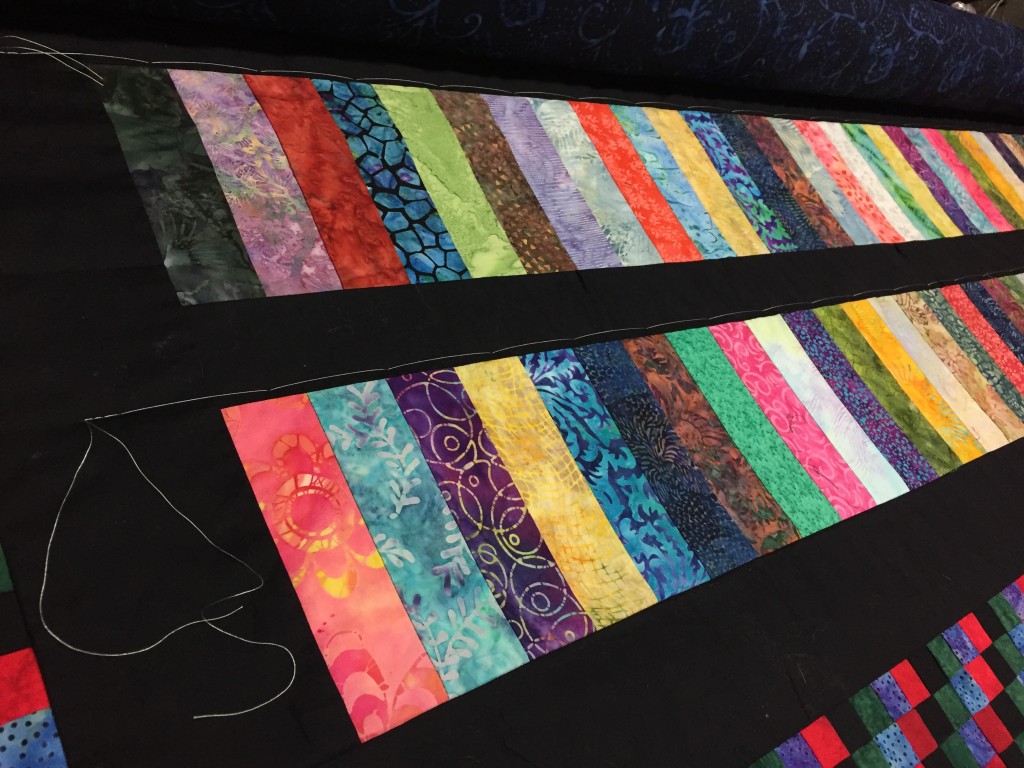
Now, we’ll advance the quilt top. We will follow the same process except on this advance, you’ll see we have an added problem of a wonky sashing. No worries, we can fix that too!
Using your hopping foot as a guide, engage your horizontal locks and baste across the quilt body where the wonky sashing is.

As you baste along with the horizontal lock engaged, you’ll need to ease the fabric accordingly to straighten the wonky sashing. In this case the row above now has excess fabric. We’ll work that in when we quilt as it is only minimal.
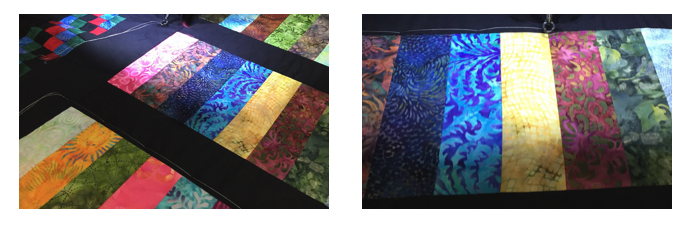
All fixed – the wonky sashing has been corrected.
Now, we’ll repeat the side treatment to ease this wave in.
Start by pinning and then adding pins in the middle of each pin, continue until excess fabric is contained and ready for basting stitches on edge.
Baste down the side using your vertical locks and a 1/2 “ basting stitch.
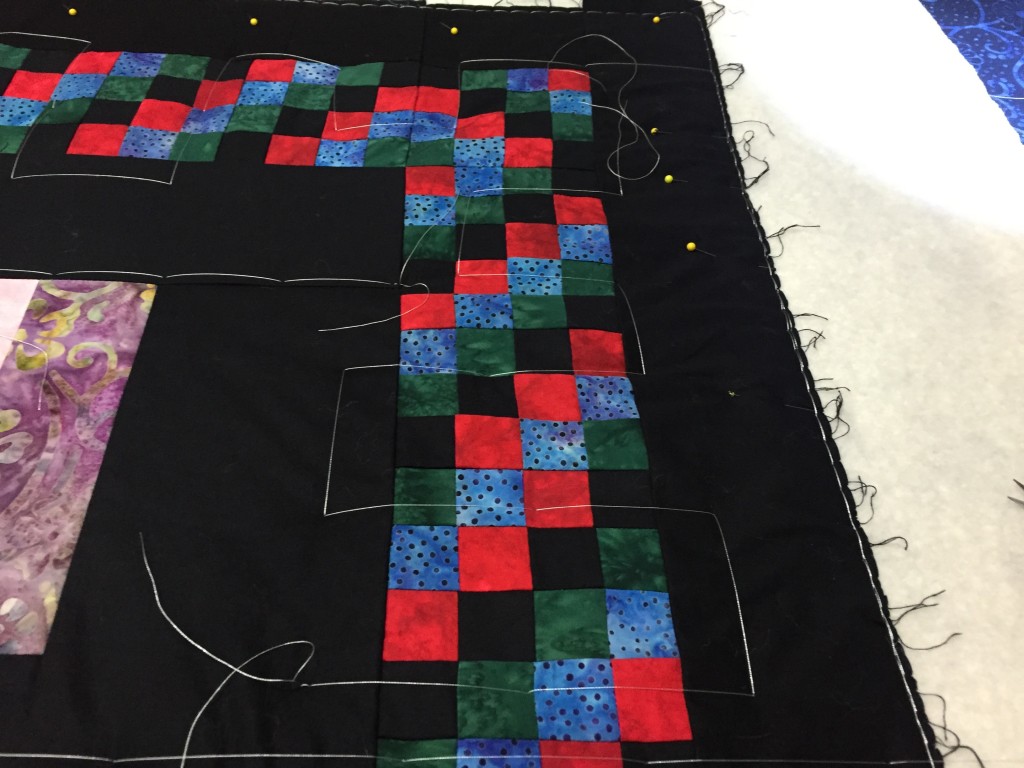
Before removing the pins, make sure to baste the pieced border using the same stitch pattern as before to keep everything lined up and in place.
Now, repeat the same process on the right side of the quilt top.

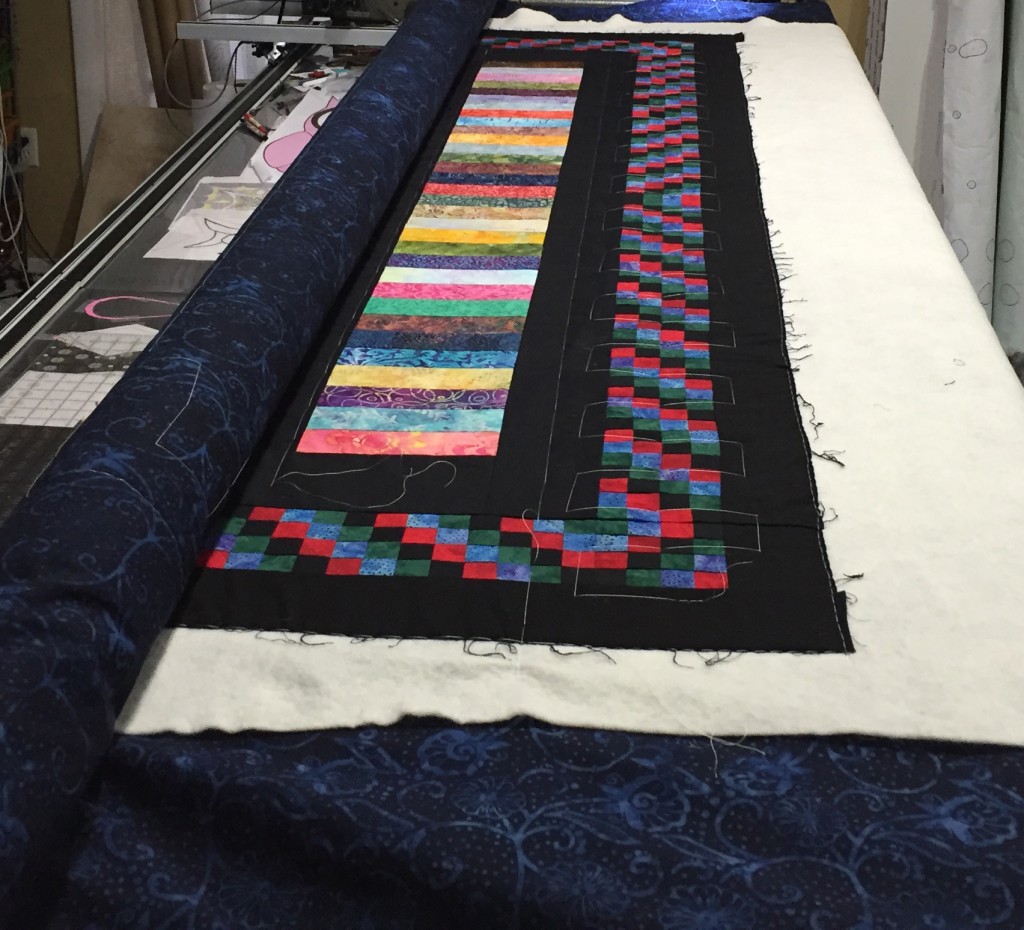
You’ve made it through two advances on the quilt top. Now, we’ll square up the third segment.
It should be getting a little more square (less easing) at this point as we are getting closer to the other side. This is why when we loaded the quilt top we started with the longer side (92.25”). Had we started with the 89” side, we would be working a lot harder now. In my experience, I have found it is easier to work the excess fabric in first.

Again, baste the sashing area using the horizontal lock and a 3” basting stitch. Don’t forget to use your hopping foot as a guide and adjust excess fabric accordingly.

Repeat the side process – pin, vertical lock, baste at ½” down edge.
Don’t forget to baste the pieced border using the same pattern as before (3” basting stitches).

And repeat on right side.
Ease excess, pin, baste down edge (1/2” stitch length)
Again, baste pieced border.

We’re ready to advance the quilt top again. It’s almost squared up. You can do a lot less basting now as the quilt top is almost squared!
I know this seems like a lot of work, but it is worth it. Once you start quilting, you will know that the top was loaded perfectly square and the sides will be equal measurements. All areas that had issues will be basted and your worst problem will be what thread color to chose!
On this advance we will only need to baste the sashing as all the excess in the borders has been worked in – don’t forget to use your horizontal locks and hopping foot as a guide.
Just baste down the edge using your vertical locks and 1/2” basting stitch.
Repeat on the right side.
Now that all the excess is eased in, we can simply baste straight across the quilt using horizontal locks and 3” basting stitch.

Final advance – no more issues! Baste around the edge remaining of the top quilt using 1/2 “ basting stitch.
Just to be safe, I’ll baste the pieced border across the bottom – make sure nothing else moves.
Mission accomplished – this quilt is now a perfect 88” x 89” – time to quilt it! You’ll remove the basting stitches after your quilt each area.