

By Eva Birch
Gammill Quilt Artist
You can use the functions and features of your Elevate by Gammill to easily combine multiple patterns and stitch out this beautiful 26″ x 26″ wholecloth design by Lisa Calle.

This design, due to its large size, cannot be stitched out all at once. Depending on the size of your machine, the quilt will need to be rolled at least once. Therefore, when this design was digitized, it was separated in three different sections.

*Note the sizes for each section.
• On your fabric mark a Reference point in each corner, designating the perimeter of the WHOLE design.
• Mark the center point of your perimeter.
• Begin with the top half of the design.
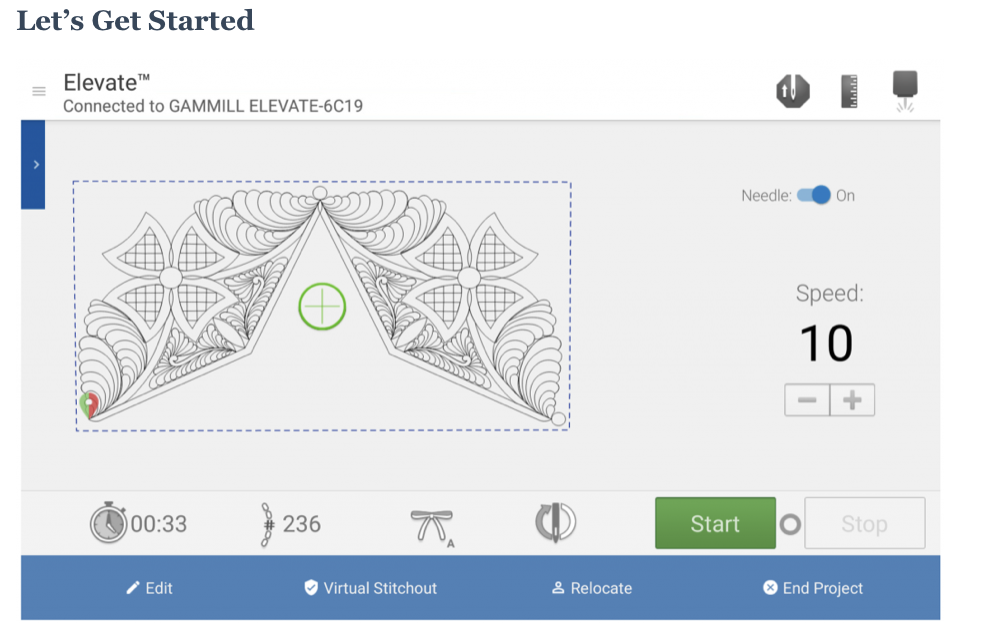
• On the Elevate tablet tap boundary points using the Block function for the top half design (25.8”x 13.4”)
• Select the top half design in the pattern manager and then tap “Start” to stitch the selected design.
• Once the design has stitched out tap “End Project”

• Roll the quilt making sure that you can reach the length of the design (14.4”) with your quilting machine.
• On the Elevate tablet tap out boundary points using the Block function for the bottom half of the design (25.8” x 14.4”).
• Select the bottom half pattern in the pattern manager
• Tap “Edit” on the screen.

• On the “Edit” screen tap “Move.” This enables you to move the pattern in any direction.
• The Red/Green marker(s) represent the start and end points of a design.
• Move the head of the machine to point where the 2 halves are going to meet ( you can also refer to the picture of the whole design).
• Use the “Move” button and adjust the position of the design until you’re comfortable that they will meet up with the top half on either side. Tap the “Orange Checkmark” when the pattern has been aligned.
• Tap “Start” to stitch the bottom of the design.
• Once the design has stitched out tap “End Project.”
Adding the Center Design

• As shown, mark the horizontal and vertical center lines for registration.
• Tap out the boundary points including the points that are indicated with a blue dot, this is where the center design connects with the top/bottom design.
• Follow the previous steps to align the design sections.
• Tap “Start” to stitch out the design.
• Once the design has stitched out tap “End Project”
The Final Design
 Options
One of the benefits of using the Elevate is being able to combine computerized quilting with free hand quilting.
For this particular design I will add a frame to the outside of the design and fillers in some of the open areas of the star points.
This is a great opportunity to add your own creativity to a computerized design.
Happy Quilting!