
VIDEO | Draw Arc
Arcs are independent curves defined by 3 points (the beginning, the middle and the end), perfect for creating circles. When drawing multiple arcs sequentially, the third point of one arc is automatically the first point of the following arc. Create separate, individual arc patterns by right-clicking or choosing Stop Drawing on the keypad, then moving positions and starting a new arc.
How to Draw Arc
Initiate Draw Arc by using one of the following:
- Click on the Draw Arc icon.
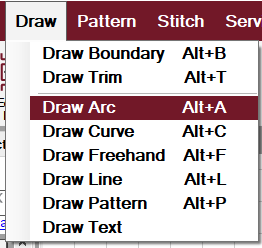
- Click on the word Draw on the command bar, then choose Draw Arc.
- Use the keyboard shortcut (hold the Alt key down and press the A key).
- Right-click an open area on the CAD, and choose Draw Arc.
 |
 |
Identify at least 3 points that define the arc (using the stitcher or the mouse). The arc is a sewable pattern that appears on the Preview Area. Continue using as many click points as needed to create additional arc.
Complete the current drawing by doing one of these:
- Click the right mouse button once.
- Press the Escape key.
- Press the Close Drawing button on the keypad.
Exit Draw Arc by using one of the following:
- Click on the icon again.
- Click the right mouse button a second time.
- Press Exit Drawing button on the keypad.
- Use the keyboard shortcut of Alt A
Draw Arc Examples |
|
|
Arcs are defined by at least three points. The space of the points determines the curvature. The three points in the examples demonstrate where the clicks were located. |
 |
|
Instead of closing the drawing, continue clicking to create a design, such as a serpentine line. The grid can be a useful tool for even spacing. |
 |
| Continue clicking back to the original point to create a circle. |  |