Draw Curve
Use Draw Curve to create a flowing curve
VIDEO | Draw Curve
Use Draw Curve to create a flowing curve. There is no limit on the number of points used to define the curve. The last point always changes the shape of the previous curve, so they flow together.
How to Draw Curve
Initiate Draw Curve by using one of the following:
- Click on the Draw Curve icon.
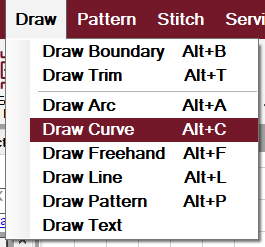
- Click on the word Draw on the command bar, then choose Draw Curve.
- Use the keyboard shortcut (hold the Alt key down and press the C key).
- Right-click an open area on the CAD, and choose Draw Curve.
 |
 |
Identify at least 3 points that define the curve (using the stitcher or the mouse). The curve is a sewable pattern that appears on the Preview Area. Continue using as many click points as needed to create additional length to the curve.
Complete the current drawing by doing one of these:
- Click the right mouse button once.
- Press the Escape key.
- Press the Close Drawing button on the keypad.
Exit Draw Curve by using one of the following:
- Click on the icon again.
- Click the right mouse button a second time.
- Press Exit Drawing button on the keypad.
- Use the keyboard shortcut of Alt C.

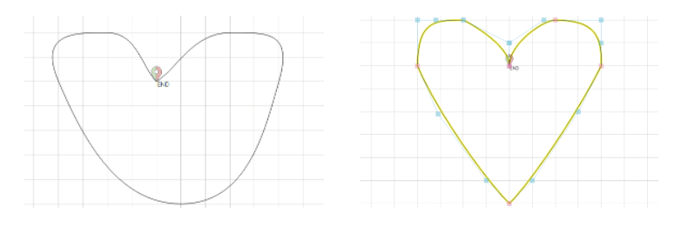
Once a curve design is drawn, as seen above and on the left, select the nodes to adjust the design, as seen in the image above and to the right.
Draw Arc vs Draw Curve
Draw Arc and Draw Curve will produce very different results. The top line of designs shows designs with Draw Curve and the bottom, Draw Arc, using the same click points. Curves are defined by any number of points and are Bezier curves.

