
Patterns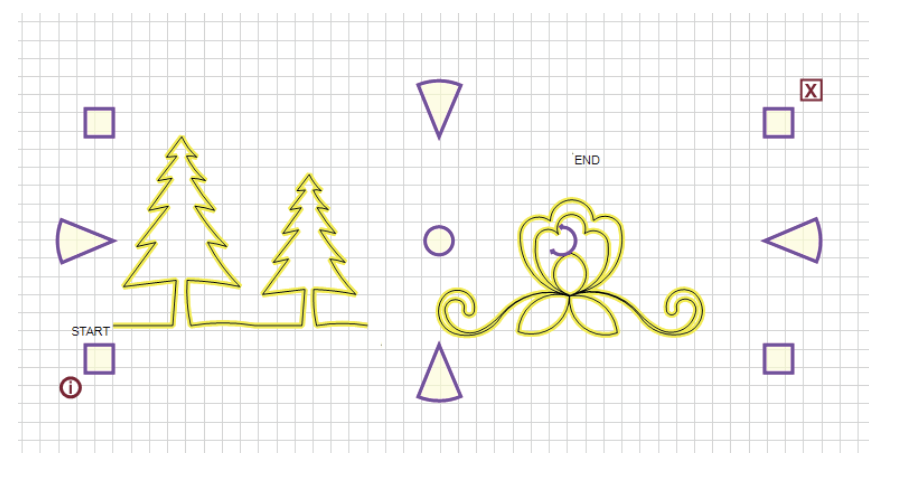
What is a Pattern?
A pattern is a purchased, free, or created design that will stitch on your quilt.
Selecting Patterns
Select means to choose. If using the mouse, this is a single left click. If using a touch screen, it is tapping the screen. The terms Select, Click, and Highlight are used interchangeably because selecting an object generally highlights it. When a pattern is selected it will change from a black or red line to a yellow outline.
Selecting multiple patterns- Us
 ing the Select All icon in the menu bar will select everything on the CAD for the current quilt group. You can also Select All by holding down the Control (Ctrl) key while clicking the letter A. (Ctrl +A)
 - Selecting multiple patterns individually is done by holding the Control (Ctrl) key down while clicking on as many patterns as needed. The sequence of choosing the patterns can be important. This is because if the group of patterns will be combined, rubber stamped, copied or saved, the order of selection is the order of stitching. If the patterns need to be stitched in a specific order, select them in that order.
- Marquee select (click and drag) chooses a group of patterns by dragging a selection box around them. Drag Left to Right to select patterns that are completely inside the selection box. Drag Right to Left to select patterns that are completely or partially inside of the selection box.
- Selecting Stacked Patterns: There will be times when patterns overlap each other. CS only recognizes the first two patterns in the stack. To select a buried pattern, use the < and > keys (greater than and less than). Click once on the stack to select the first pattern and click > to move to the next pattern. Continue pressing > to move through the stack in order. To backup, press <.
VIDEO | Selecting Multiple Patterns
Deselecting Patterns
- To deselect just one of many patterns, press and hold the Ctrl key, and click on the pattern
- Clicking on a different pattern will deselect any highlighted pattern(s)
- Deselect all patterns by pressing the Escape (Esc) key on the keyboard
- Single or double click on any open space in the preview area to deselect all patterns
Boundaries
What is a boundary?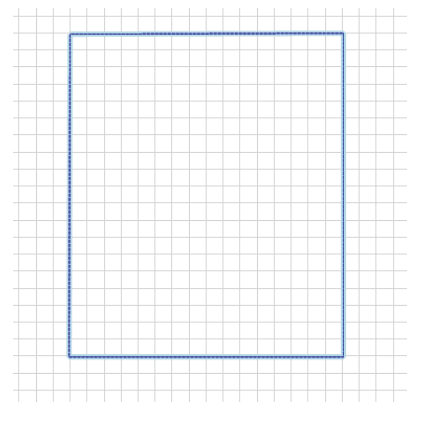
A boundary is often used to create a visual reference, particularly to indicate areas where seamlines may not be perfectly straight, or where a border pattern stopped, and another needs to continue. Boundaries can be converted to patterns or trims, just as trims and patterns can be converted to boundaries. This flexibility ensures accurate placement of patterns, especially when patterns need to connect after rolling the quilt. Boundaries may have as few as 3 points (triangle) or may have hundreds (a virtually unlimited number) of points, outlining almost any shape. Information about creating boundaries is located in the section on Draw Boundary.
Selecting a boundary
To select a boundary, just click it and the outline turns to light translucent blue. Like patterns, CS keeps track of the sequence that each boundary was created. Choosing just one boundary is tricky when boundaries overlap each other, so click on one of them, and press the K or L key to cycle through the boundaries in the order they were created on the CAD. Pressing ‘K’ will cycle backward. Pressing ‘L’ will cycle forward.
VIDEO | Selecting a Boundary
Trim
What is a trim? 
Trim is a special outline that can stop the machine from stitching the patterns in a particular area. It has 2 iterations; Trim Inside prevents the machine from stitching any pattern inside the Trim outline, and Trim Outside prevents stitching outside the Trim outline.
Selecting a Trim
Selecting a trim outline is similar to a boundary. Selected trims have a faint yellow highlighting. When Trims overlap each other, click on one trim, and press the I or O key to cycle through the Trims. Pressing ‘I’ will cycle backward. Pressing ‘O’ will cycle forward. More information about trims is located in the section on Draw Trim.
VIDEO | Selecting a Trim