
Snaps
VIDEO | Snaps
Snaps help you choose specific click points on the CAD screen. There are two types of snaps in CreativeStudio ... End Point Snap and Grid Snap. They can be turned on or off independently of each other or they can be both on or both off.
Turn snaps on or off on the bottom status bar or use the keyboard shortcuts:
- 'S' key -- turn all snaps on/off
- 'E' key -- turn End Point snap on/off
- 'G' key -- turn Grid snap on/off
With snap turned on you will see a pink dot showing you the nearest snap point. If you click the mouse (or release the left-click if you are dragging a node or endpoint) CS will use that point as your click.
You may want to use Grid snap with draw tools like Draw Boundary or Draw Line to create symmetrical or predictable shapes or patterns. You may want to use End Point snap to connect pattern endpoints to create continuously stitching designs.
Snapping Together Patterns
Order Join will only work with patterns that are already connected (snapped together) or that are within a single stitch length from each other.
How to tell if Patterns are Snapped |
|
| First, make sure the Start and End points are visible. If not, right-click on the pattern using your mouse and select Options and then Show Start/End. | 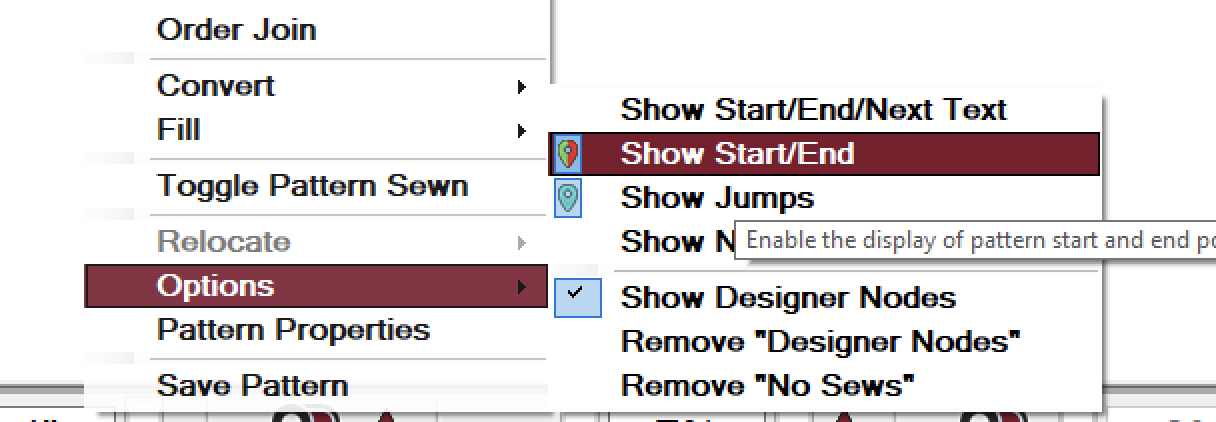 |
| In this example, the pattern is a single feather triangle. The two patterns on the left are snapped together but the pattern on the right is not snapped to the first two as indicated by the teal jump stitch marker. | 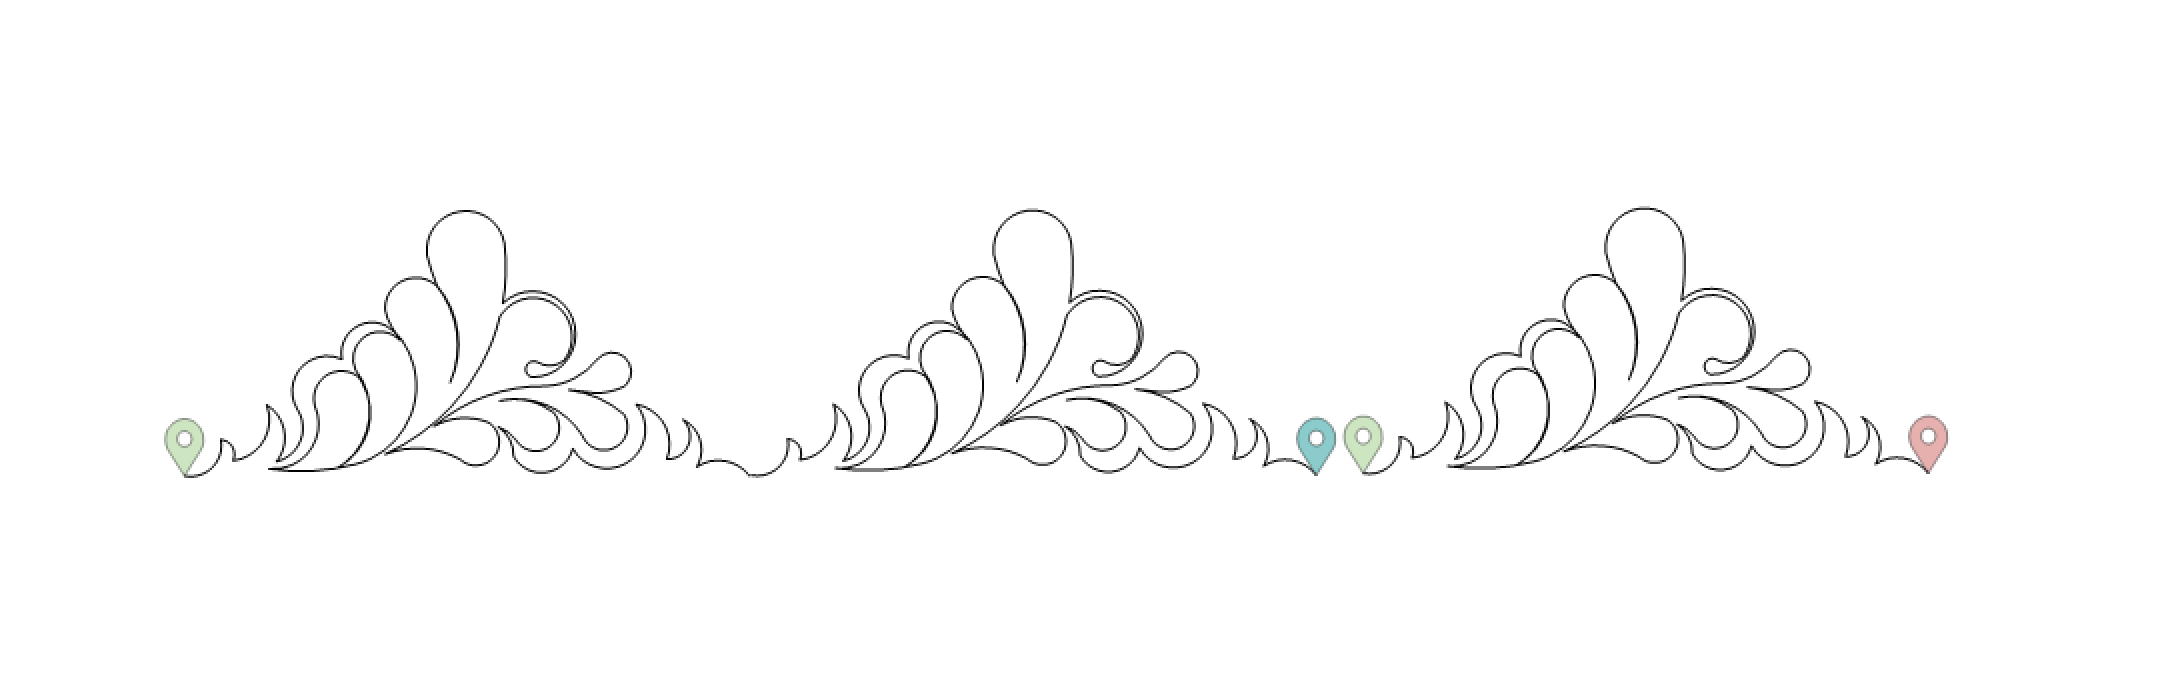 |
How to Snap Together Patterns |
|
|
Move the end of the first pattern over the start of the second pattern and hover until the two balloon indicators combine and the jump stitch marker disappears. |
 |
|
Ensure End Snaps is turned on. |
 |
|
Turn on Nodes View and move the end node of the first pattern to the start node of the second. The pink dot and snapping sound will indicate the endpoints have snapped. Release the left mouse button after you see/hear the snap. |
  |
Order Join
VIDEO | Order Join
Order Join Basics
Order Join will find connected pattern pieces, modifying the stitching sequence and direction so the composite pattern stitches continuously.
 Once your patterns are connected using snaps as outlined above, determine which pattern you want the machine to stitch. Ensure this pattern is stitching in the correct direction. In this example, the pattern stitches from left to right, which we can tell because the green start marker is on the left and the red end marker is on the right.
In the example below, although the patterns are connected, they are not stitching in the correct order because they were placed in an incorrect order. Therefore, we see two jump stitches where the machine will first stitch the pattern on the left, then the pattern on the right, and then the pattern in the middle to end at the red marker.
 Select the pattern where you want the stitching to start and choose Order Join using one of these methods:
- Choose the Order Join icon
- Right-click and choose Order Join
- Choose Order Join from the Pattern dropdown menu
Using Order Join |
|
| 1. Select the first pattern to be stitched. In this example, the pattern on the left. You can also check the order by using Set Sew Order in the Pattern Menu. | 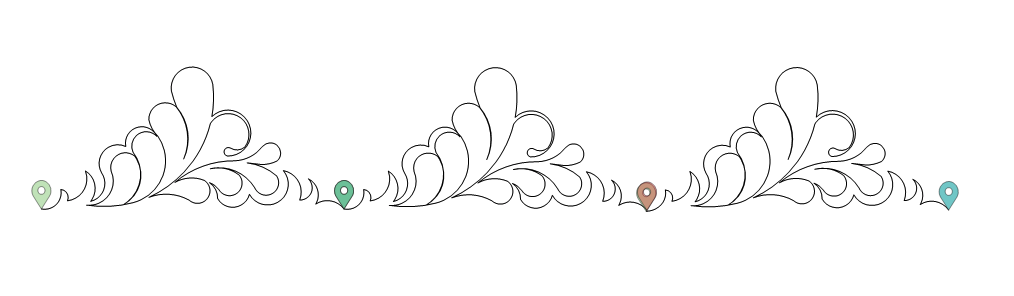 |
| 2. Select Order Join by using the icon, the drop down file menu, or the right click menu. | 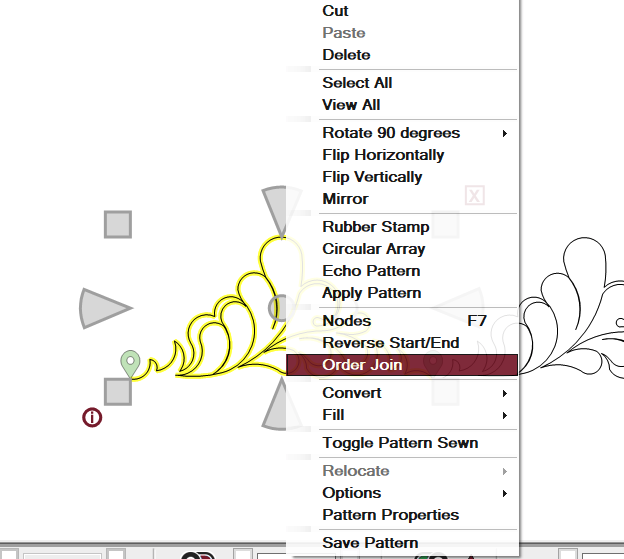 |
| 3. Order Join finds connections and reorders stitching for the series of patterns. Now, we see the start point is at the beginning of the first pattern and the end point is at the end of the last pattern on the right meaning the patterns will stitch continuously and in the correct order. | 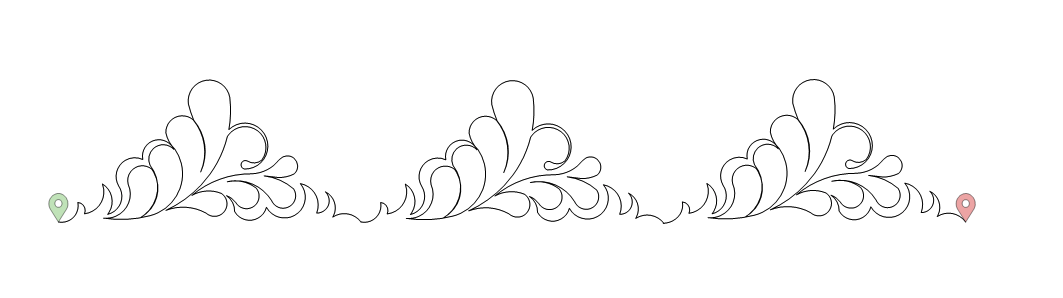 |
| Although the patterns will stitch continuously, they are still individual patterns that can be selected individually. | 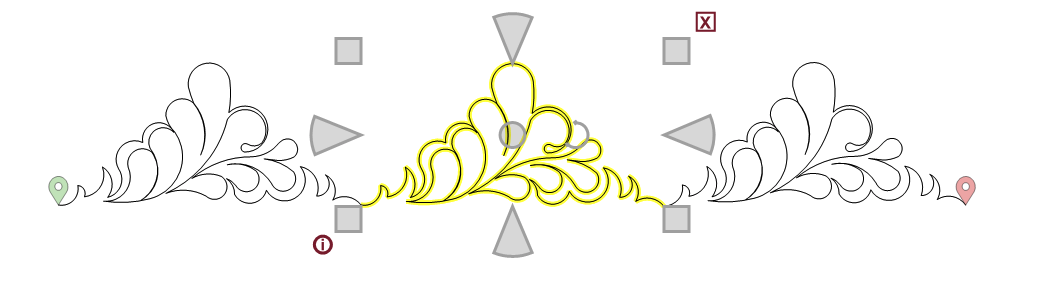 |
Order Join Rules
Once Order Join is selected, the function follows the following set of rules:
- Order Join begins with the highlighted segment, moving from the start point to the end of that segment.
- If another pattern segment is snapped to the end, it will follow that segment.
- If two pattern segments are snapped to the end, it will follow the segment with the lowest sequence number.
- If no pattern segment is snapped to the end, it looks for a segment that is within ONE STITCH LENGTH in any direction.
- If it finds two or more segments, it chooses the segment with the lowest sequence number.
When the Order Join process is over, all the included pattern segments are highlighted, so it is obvious when a segment was not included. The Order Join process does not combine the pieces, however. The Save Pattern process will combine the segments together.
Dividing and Joining Patterns
Order Join can be helpful in the pattern editing process. In the example below, we will look at how to divide a pattern, take a piece of the pattern, and add it to a new pattern. We will then use Order Join to join the new pattern.
| In this example, we will take the bird from the first pattern and add it to the flowers in the second pattern. | 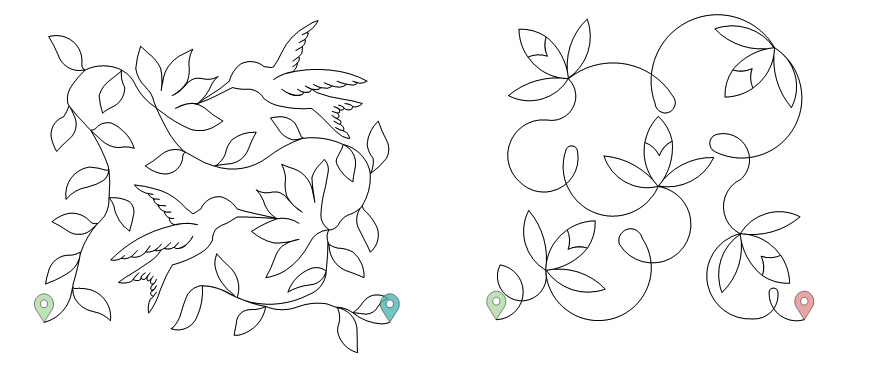 |
| The first step is to separate the bird from the first pattern. To do so, choose Nodes View and select the node or nodes where the pattern needs to be divided. |  |
| In this example, we have zoomed in on the bird's beak in the upper right. | 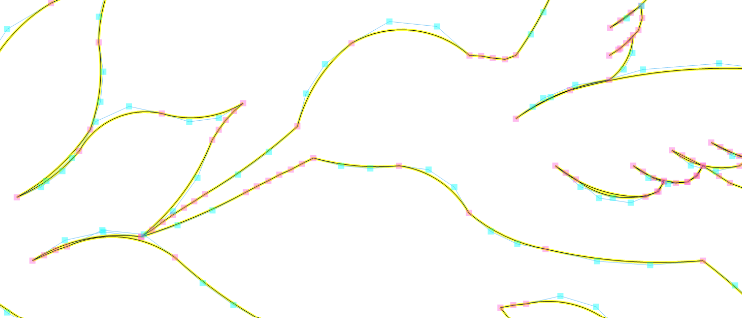 |
| Right-click on the pink node where the pattern needs to be divided. Click "Divide." | 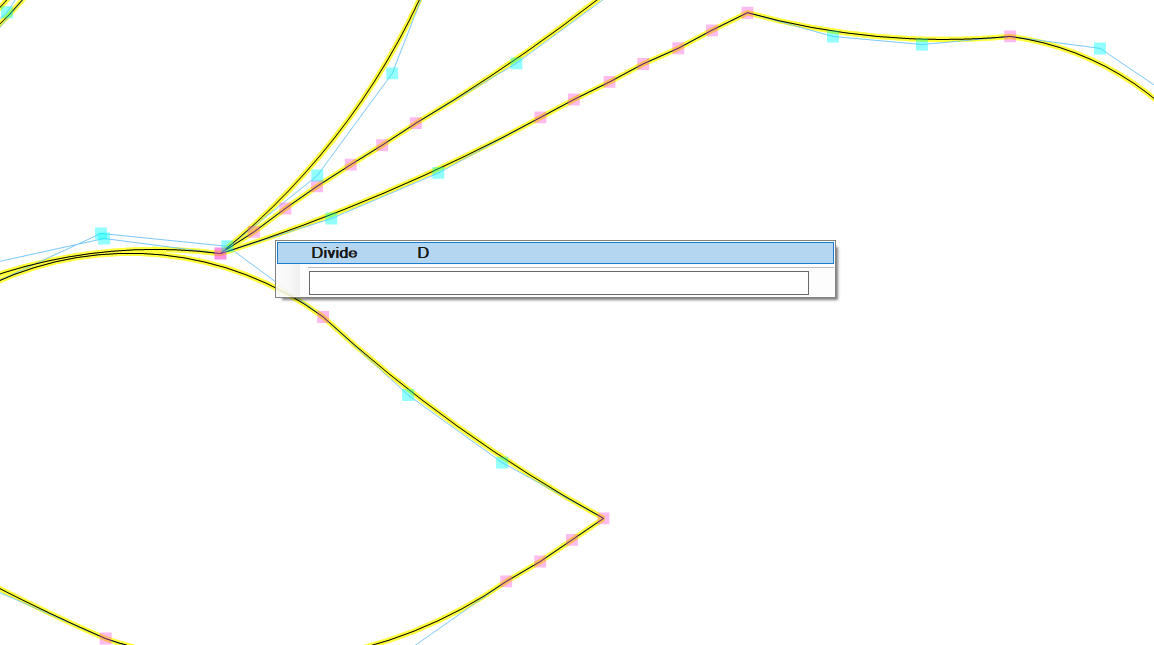 |
| In this example, we will divide both of the circled pink nodes. | 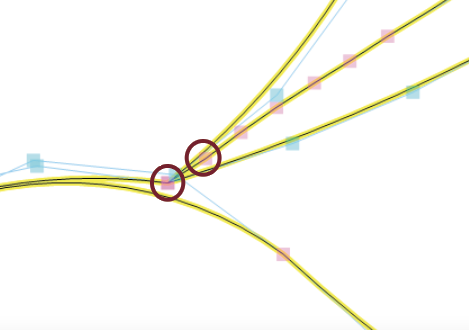 |
| We can now click and move the bird as a separate pattern using a handle type like edge handles. | 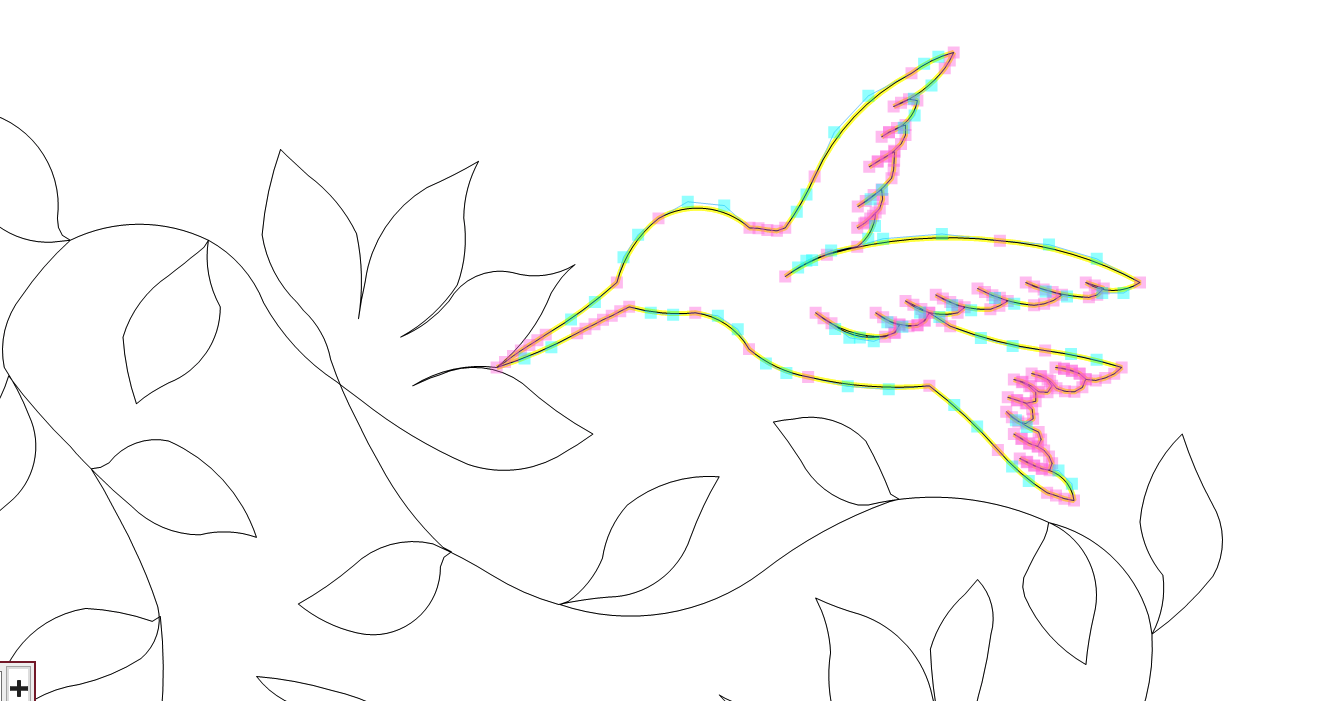 |
| We will now create a point in the second pattern to insert the bird by selecting nodes view, finding the node to divide, right-clicking, and selecting divide. | 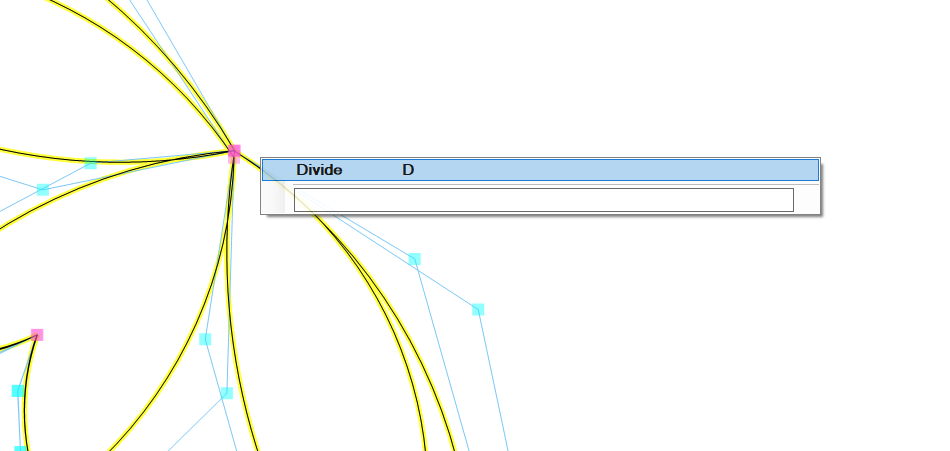 |
| Snap the patterns together. Ensure End Snap is selected. Then, using Nodes View, drag the end snaps from the bird pattern to the end snap of the rose pattern where the pattern was divided. | 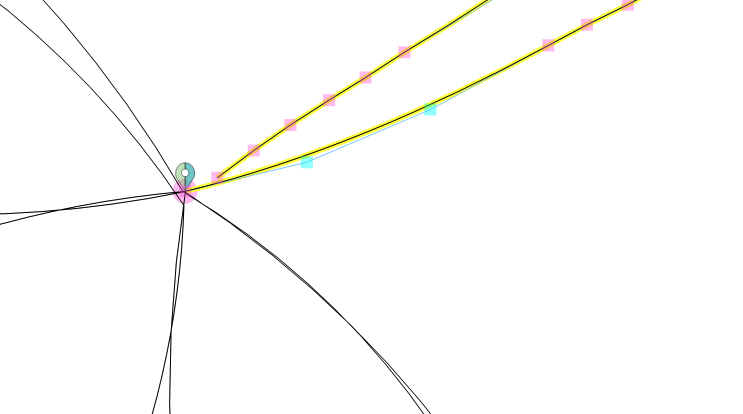 |
| In this example, there are two end snaps in the bird pattern that will need to be snapped to the rose pattern. | 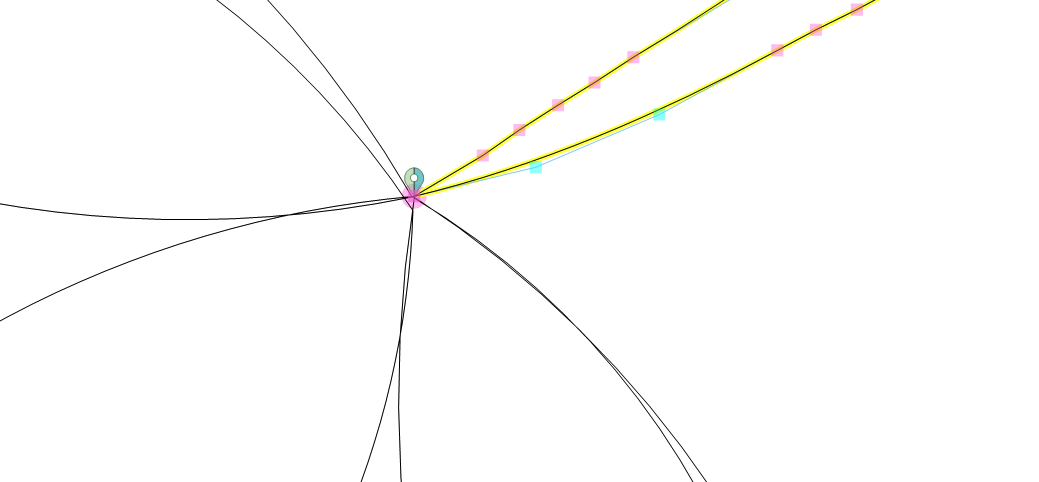 |
| Now, the patterns are snapped together but will still stitch separately so we must complete the Order Join process. | 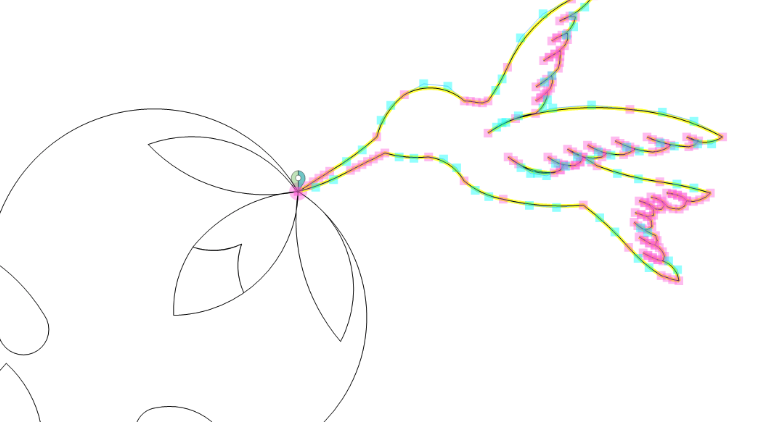 |
| Using the Start marker as a guide, select the first stitchable segment of the pattern. Then choose Order Join. | 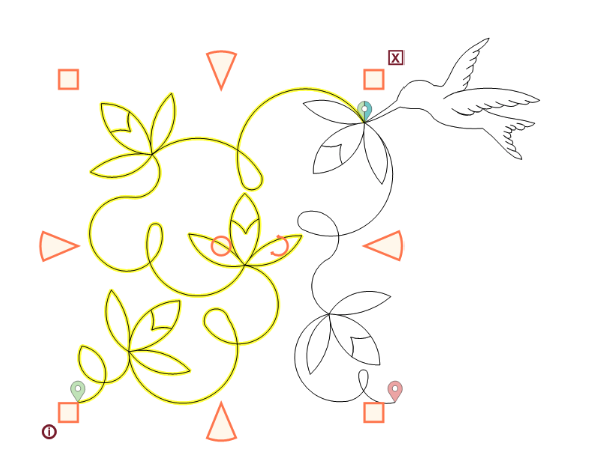 |
| The entire pattern is now selected and joined, meaning it will stitch together. |  |
| UseVirtual Stitchout out to see the patterns will stitch continuously. | 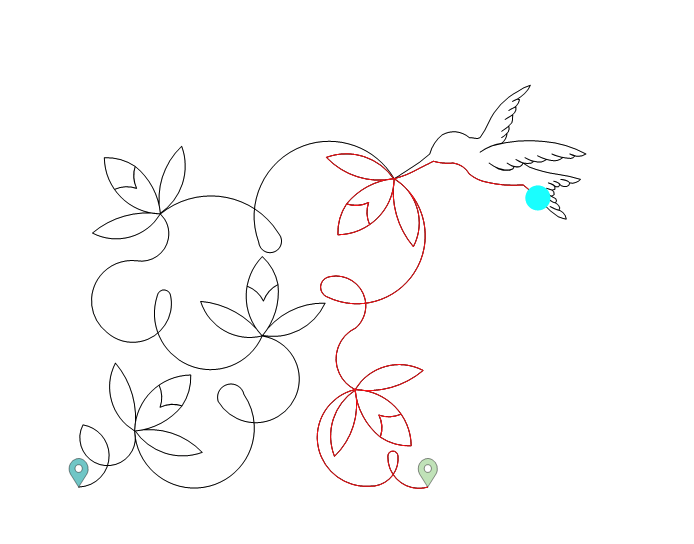 |