Reverse Start End
Reverse Start End will switch the beginning and ending points of a pattern so it stitches in the opposite direction
VIDEO | Reverse Start and End
R everse Start End will switch the beginning and ending points of a pattern so it stitches in the opposite direction. Creating corner patterns is a practical example of using the Reverse command. Most 'repeating' patterns stitch from left to right. If not sure, Change the settings to show the Start and End points.
Accessing Reverse Start End
Reverse Start and End can be found in three different locations.
| 1. In the drop down Pattern menu | 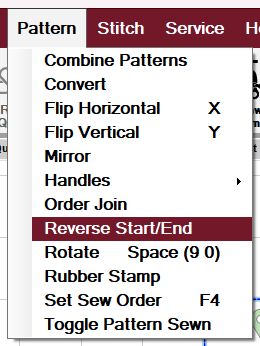 |
| 2. In the Tool Strip |  |
| 3. By selecting the pattern (left click) and then right-clicking on the pattern | 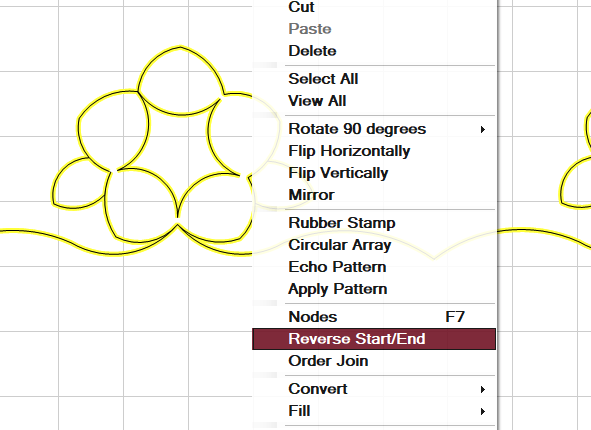 |
Showing Start and End Points
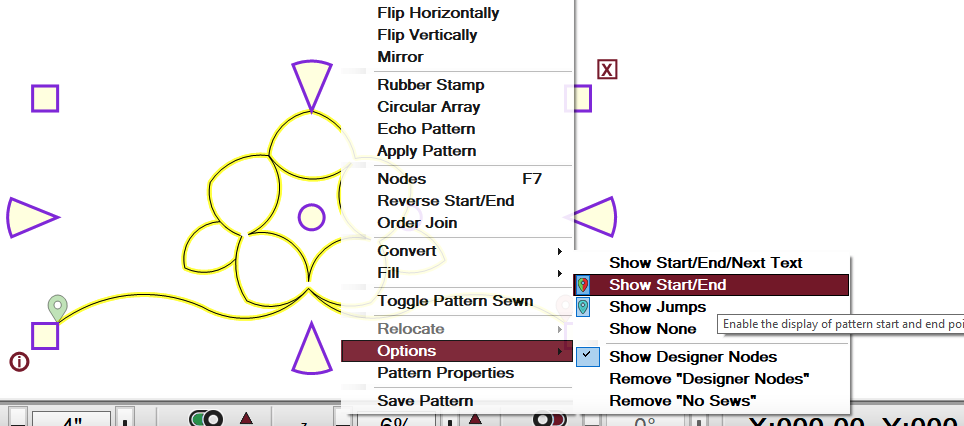
To show start and end points, right-click on the pattern and select Options > Show Start and End.
Reversing Start and End in a Single Pattern
| In this example, the start is on the left and the end is on the right. | 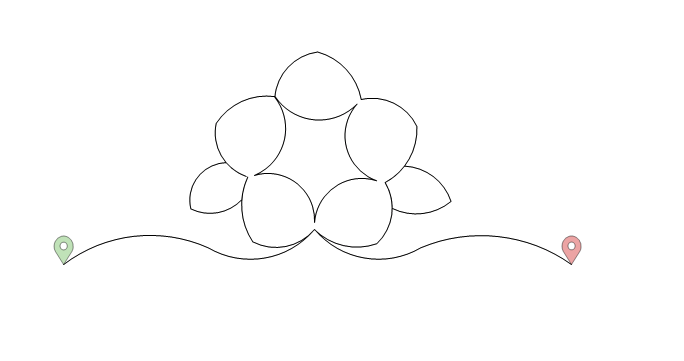 |
|
To reverse start and end, select the pattern by clicking on it and then select Reverse Start End. This can be found in the Tool Strip, under the Patterns menu, or by right-clicking on the pattern.
|
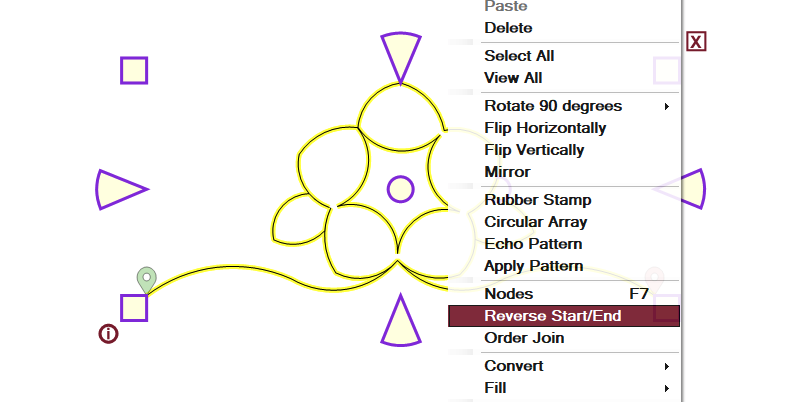 |
| The pattern will now begin stitching on the right and end on the left. | 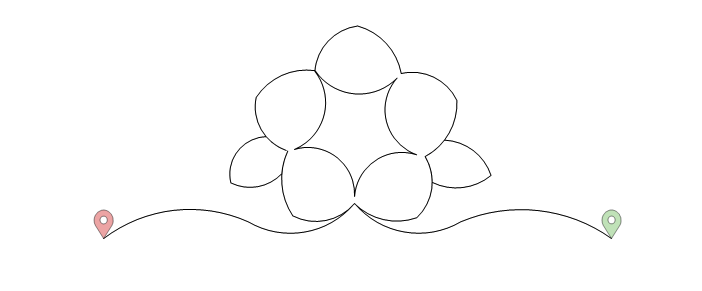 |
Combining Patterns to Reverse Start End
| In this example, we have three separate patterns that have been snapped together with the start on the left and the end on the right. |  |
|
If we highlight all three patterns and right-click, we will notice that Reverse Start End is grayed out and cannot be selected. This is because Reverse Start End can only be used on one pattern at a time.
|
 |
| In order to Reverse Start End, select all the patterns and right-click and select Combine Patterns. | 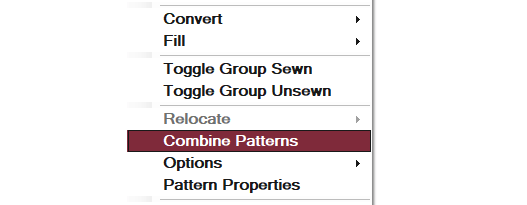 |
| You can now right-click on the single pattern and Reverse Start End. |  |
