How the Machine Stitches
If we understand how the machine actually sews, we can quickly diagnose and correct problems and resume sewing.
If we understand how the machine actually sews, we can quickly diagnose and correct problems and resume sewing.
The picture shows a cutaway view of the sewing mechanism (excluding the motor). The orange and yellow colors indicate oil tubes and wicks.
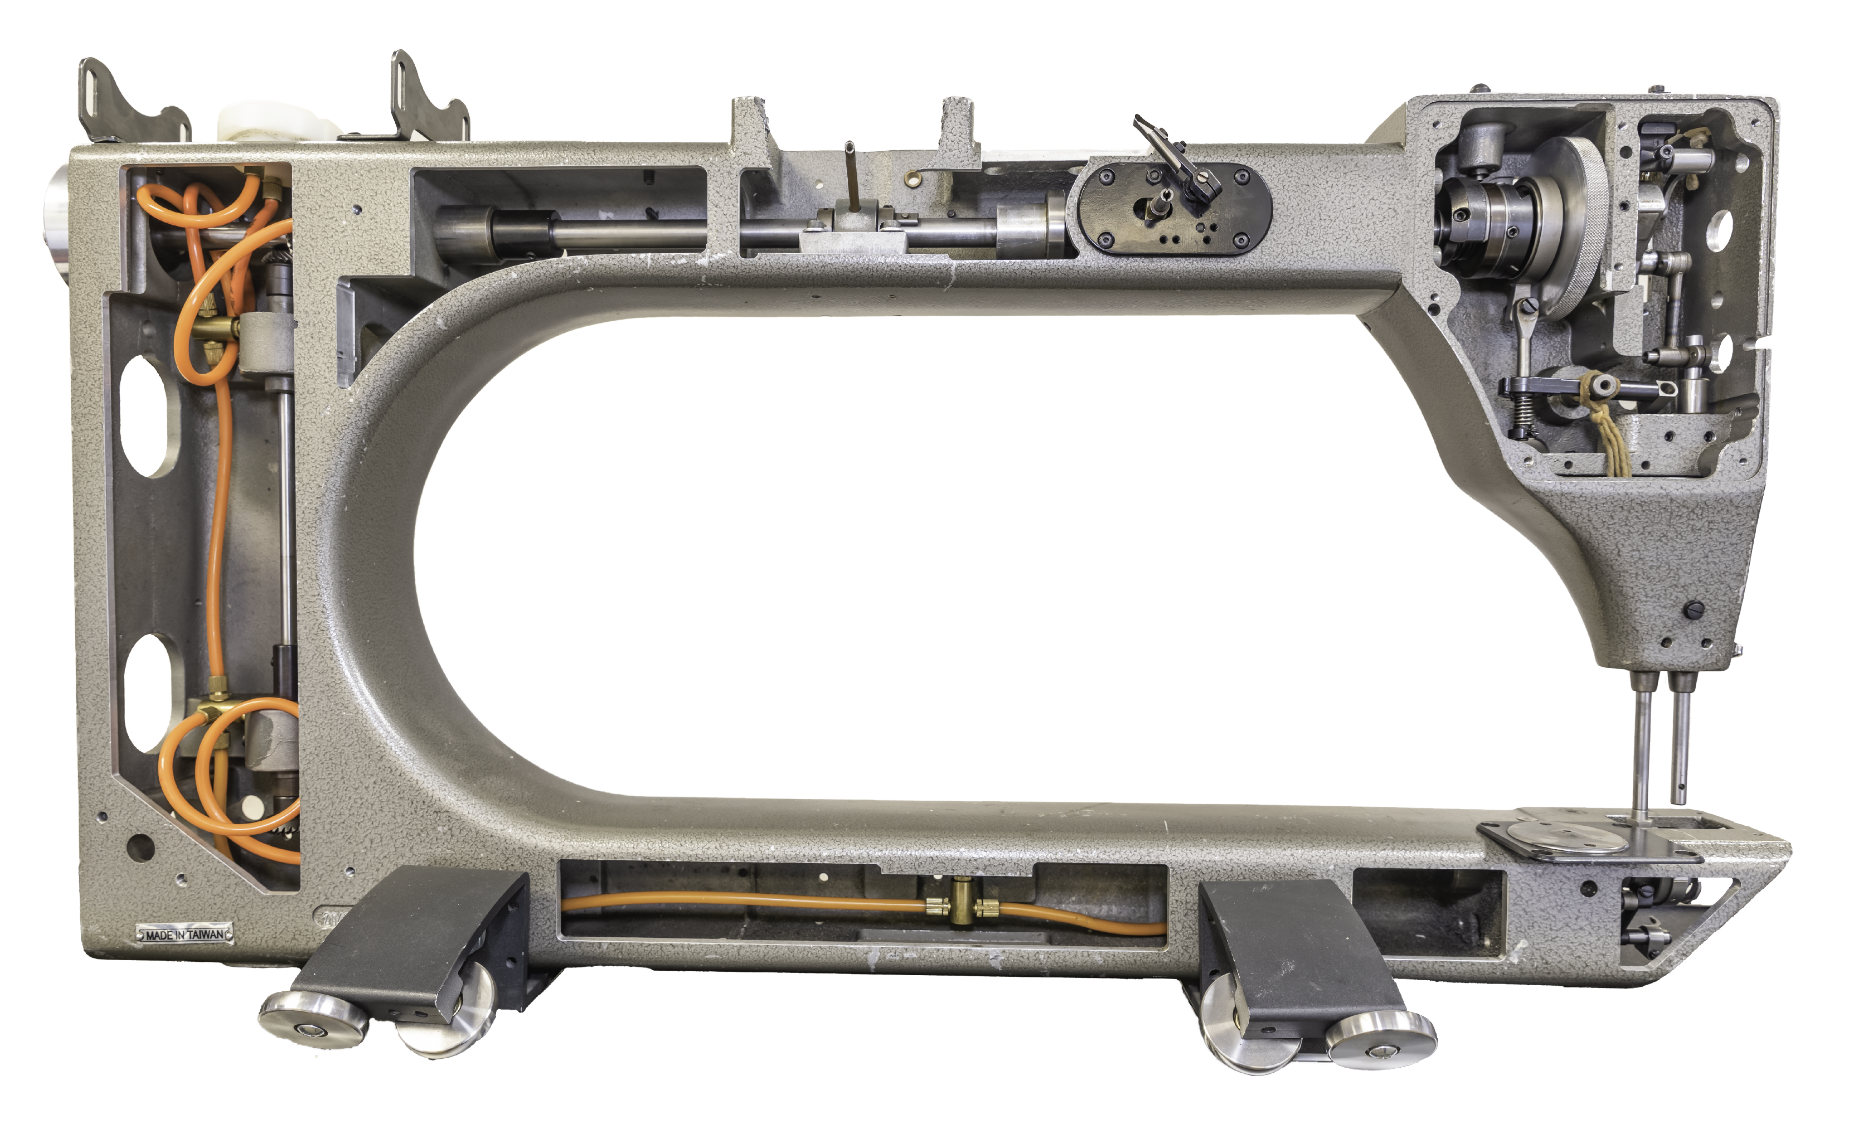
The series of pictures that follow are close-ups of the upper arm from the motor to the needle.
|
The motor turns a belt connected to the crankshaft in the upper arm. Notice how the oil collected in the large, white oil port is distributed to various mechanical components via the orange oil tubing. |
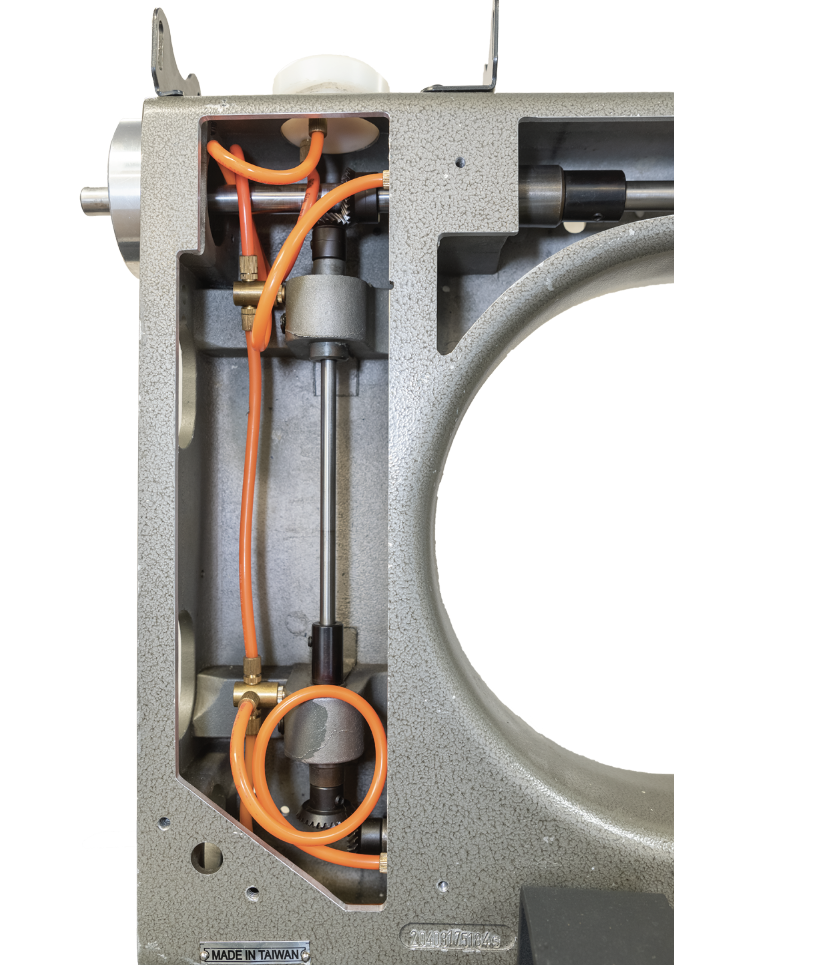 |
|
The crankshaft spans the length of the upper arm. On a Statler, the electronics for the needle positioner are located at the center of the crankshaft. |
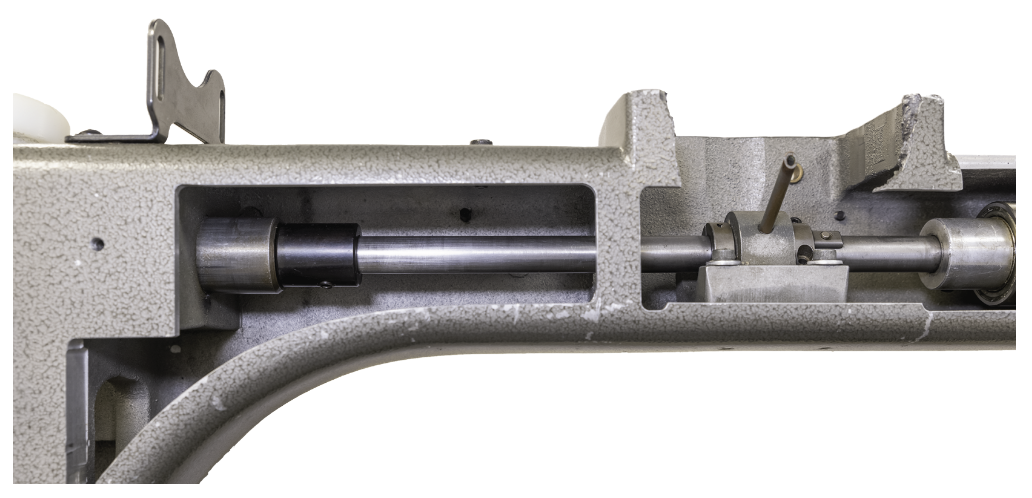 |
|
The end of the crankshaft is fitted with a lever attached to the needle bar. This lever transforms the circular motion of the crankshaft to the up-and-down motion of the needle. Notice the two white oil ports and the yellow wick that distribute oil to various mechanical components. |
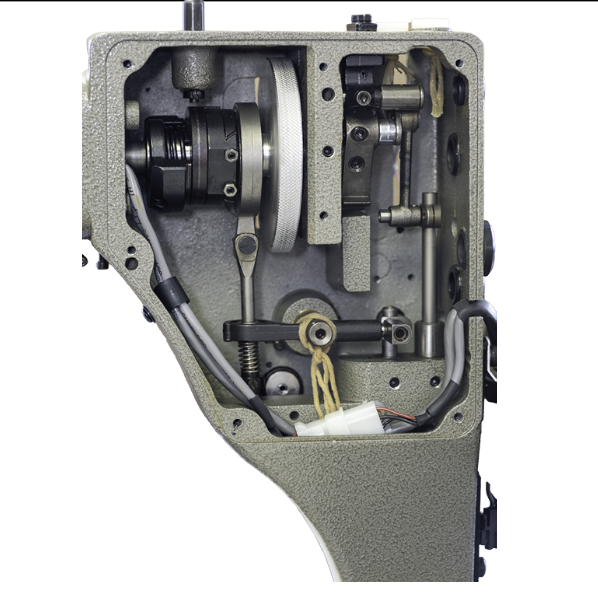 |
The pictures that follow are close-ups of the lower arm from the full cutaway picture shown earlier.
|
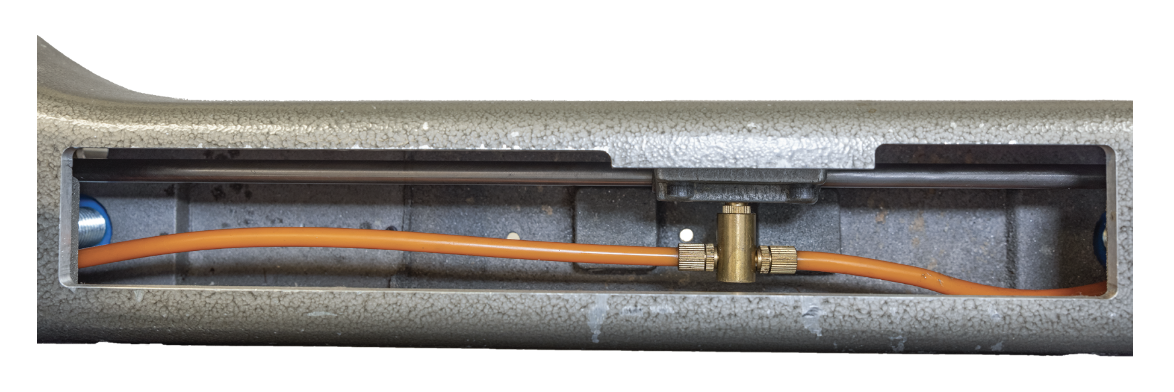
The motor also turns the shaft for the rotary hook assembly, which houses the bobbin case. Notice that the oil tubing continues through the lower arm. |
 |
|
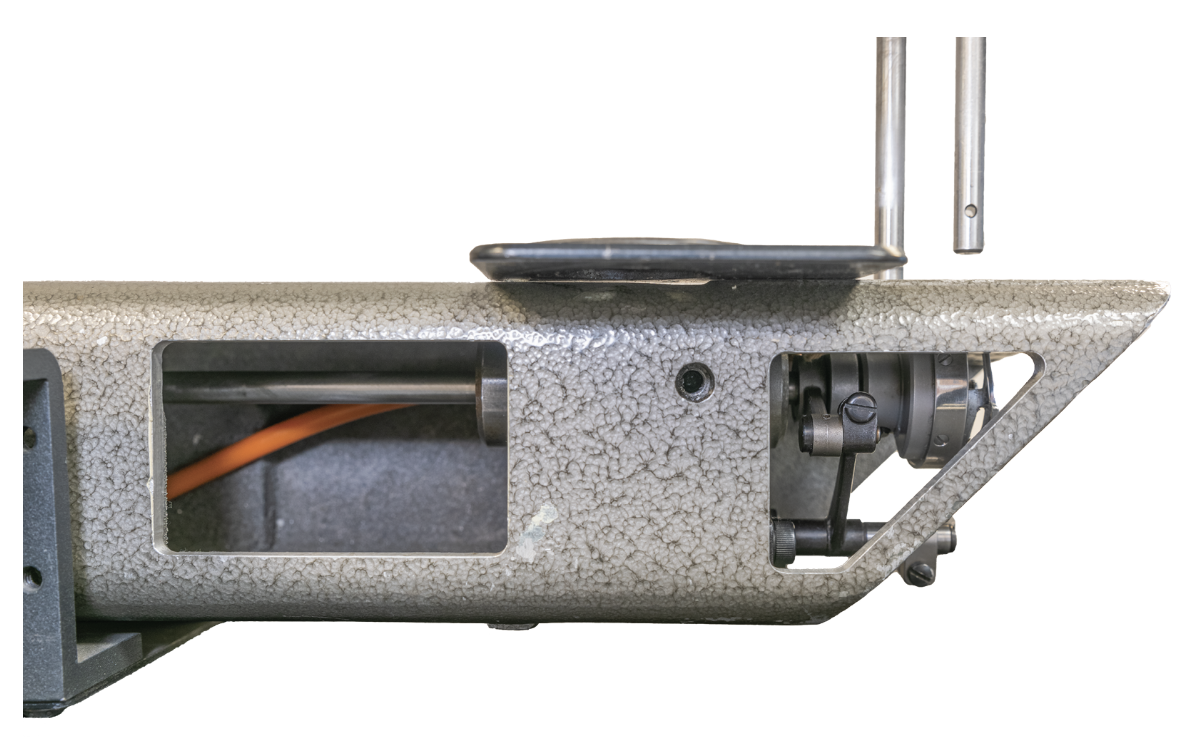
The crankshaft continues to the rotary hook assembly at the end of the lower arm. |
 |
Rotary Hook Shaft
The rotary hook shaft is located in the lower arm of the sewing head. The motor turns this shaft in a counterclockwise direction, which in turn rotates the rotary hook, which was covered in the chapter on needles and stitching mechanisms. The rotation of the rotary hook shaft is synchronized with the needle movement.
