Hopping Foot Adjustment
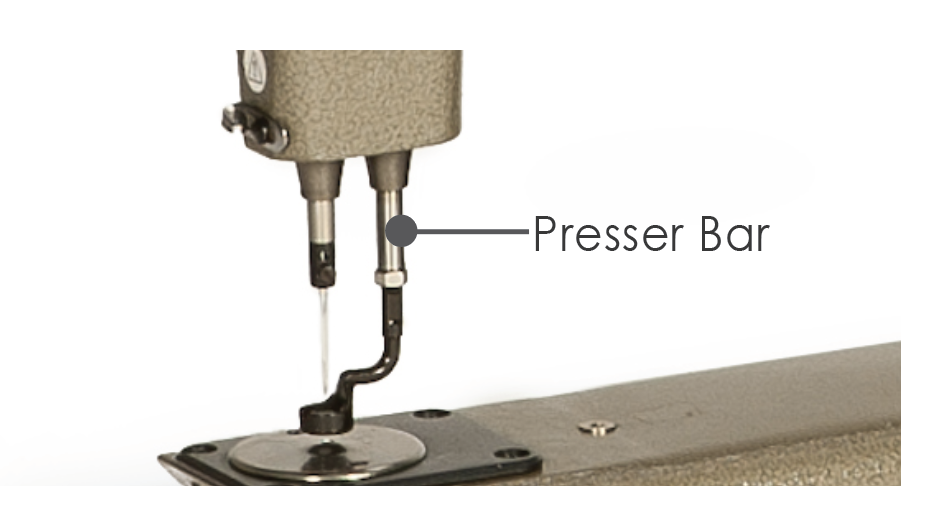
The hopping foot is attached to the end of the presser bar and compresses the fabric layers. If the fabric is not compressed enough, the thread loop cannot be formed for the hook to capture it to complete the stitch.
* If you have the Approach Foot System, please see this article for more information on stroke and height.
For adjusting Hopping Foot Height and Stroke with the new Approach Foot System, please visit Gammill.com.
The hopping foot is attached to the end of the presser bar and compresses the fabric layers as the stitches are formed. If the fabric is not compressed enough, the thread loop cannot be formed for the hook to capture it to complete the stitch.
The height of the hopping foot can be adjusted two ways:
1. Adjusting the stroke of the presser bar, or
2. Adjusting the height of the hopping foot.
The stroke of the presser bar is the distance it travels as the stitch is made. Adjusting the stroke of the presser bar moves the hopping foot up or down; finer adjustments are made by adjusting the height of the hopping foot.
Adjusting Presser Bar/Hopping Foot Stroke
How to adjust the stroke on the adjustable stroke cam.
|
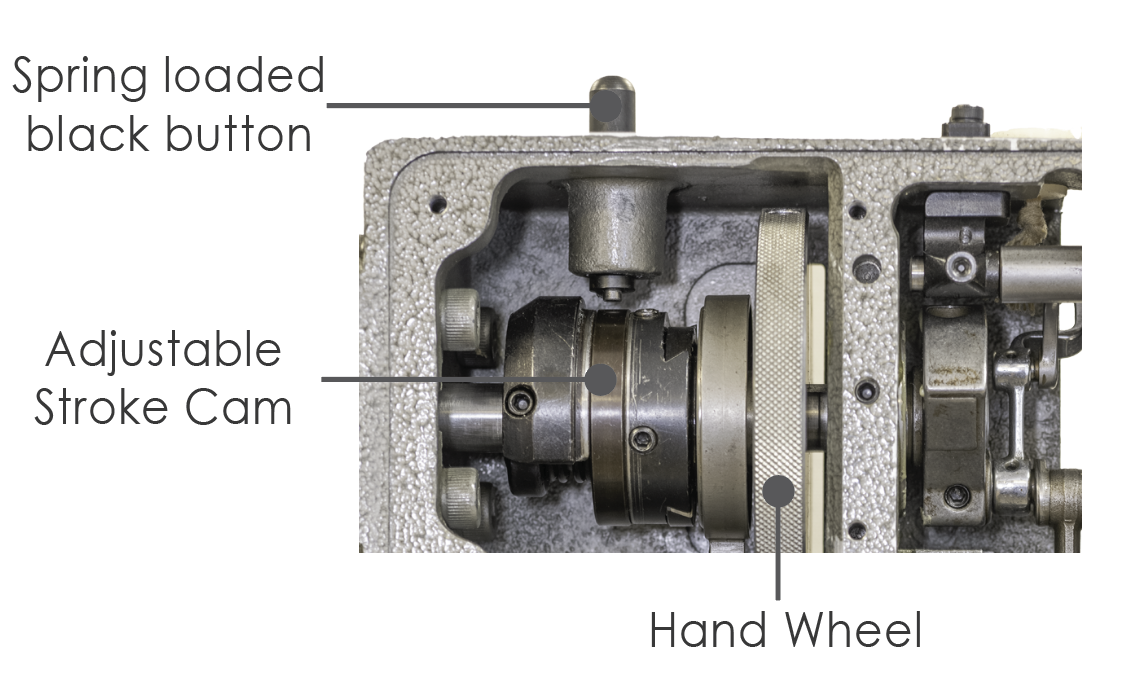
Press down on the spring loaded black button located on top of the take-up lever box. |
 |
|
Rotating the front hand wheel or the rear hand wheel while holding down the button will cause the button to engage in a slot in the adjustable stroke cam. You should feel the button drop into the slot and engage. |
 |
|
While continuing to hold the button so that it is engaged, use your rear hand wheel and rotate it toward the bobbin winder side of the machine to increase the stroke or rotate the hand wheel away from the bobbin winder side of the machine to decrease the stroke. |
 |
Note the presser bar height should be readjusted after the stroking action has been set.
Tip: Don’t adjust stroke too high or it could hop too high and break your rulers or bend your needle bar.
Video | Adjusting the Hopping Foot Height
|
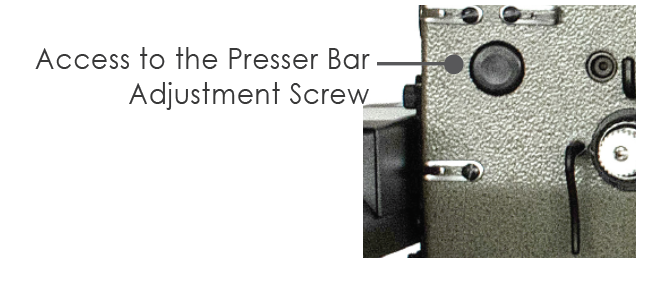
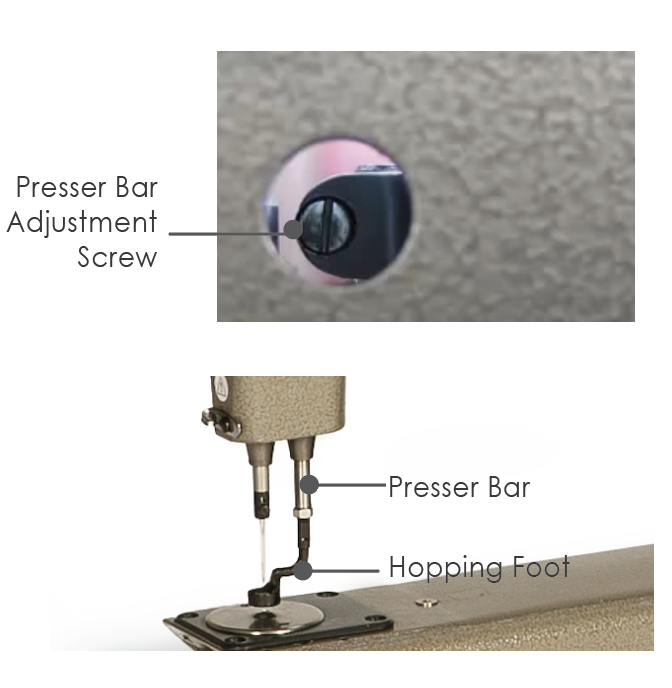
Remove the plug that provides access to the presser bar adjustment screw. |
 |
|
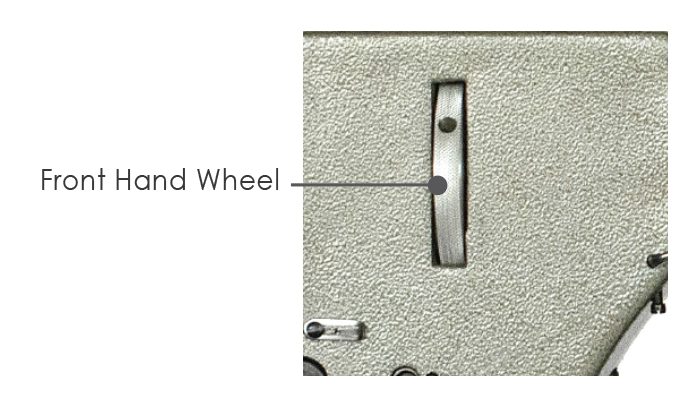
Rotate the front hand wheel until the needle bar is in the lowest position. |
 |
|
Use the flat screwdriver to slightly loosen the adjustment screw seen through the hole. You will then be able to adjust the height of the hopping foot and presser bar. The proper foot height is determined when the foot is in the lowest point of its stroke. Perfect spacing is when the foot gently rests on the fabric, holding it still as the needle starts its rise. The amount of space varies with the different thicknesses of the material being sewn. Use your quilt to determine the proper height. Be sure to align the center of the foot with the needle before re-tightening the set screw. |
 |
Generally, it is not necessary to adjust hopping foot height for different thicknesses of batting. If you change from your usual batting to a thicker batting and you are experiencing skipped stitches, you may need to adjust the hopping foot slightly higher for that quilt.
Tip: After adjustment, the needle should rise 1/4 – 3/8” before the hopping foot should start its upward motion if this is not the case please contact your Gammill Technical Support for assistance.
