
Quick Start: Draw Boundary
Draw Boundary can be used to designate the location of a stitchable space on your quilt, for example, around a block, border, sashing, seams, and edges. Defining boundaries can ensure a good pattern fit in all sections of a quilt. Boundaries are visual marks on the screen depicting areas of the quilt.
|
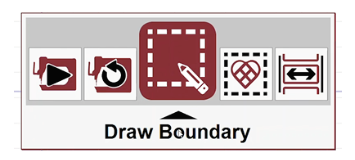
To begin drawing a boundary, select Draw Boundary from the toolstrip or use the keypad button to mode to Draw Boundary and select.
|
 |
|
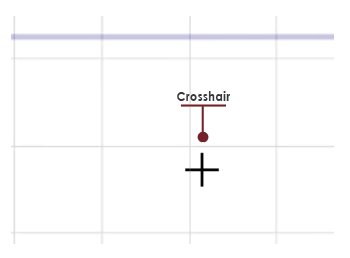
Your mouse will turn into a plus or crosshair and the keypad will change to reflect draw feature functions. |
 |
|
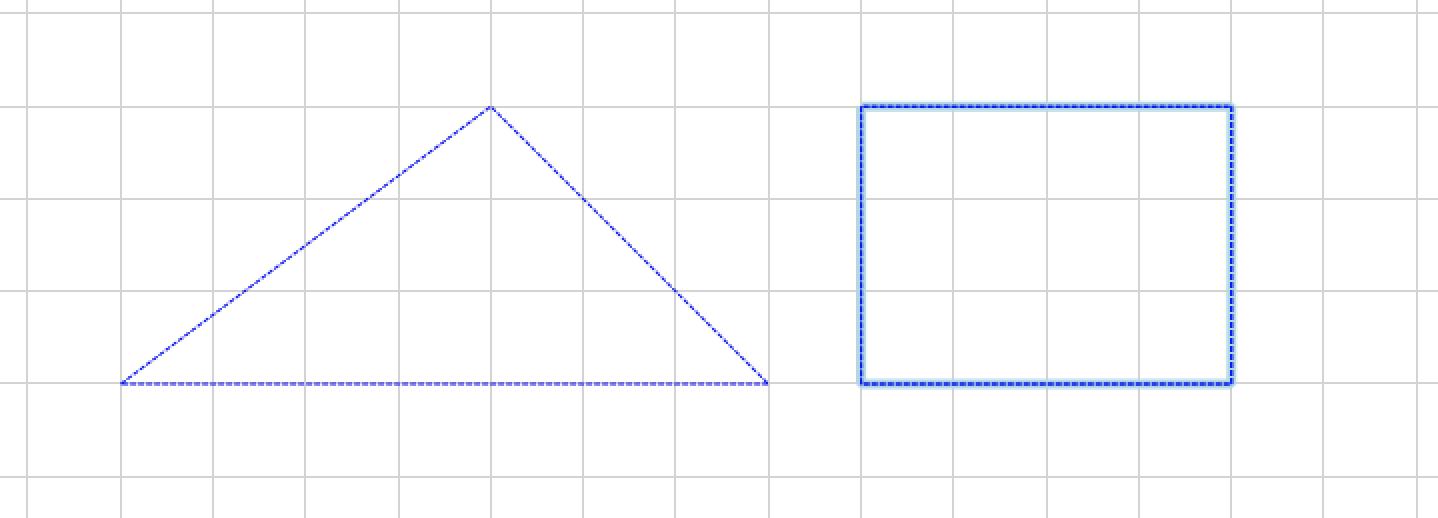
Draw your boundary by selecting a minimum of three points by using the select buttons on the keypad. Note: Boundaries can also be created on screen using the mouse and left-clicking each point of the boundary. |
 |
|
When your points have been selected, use the lower middle button labeled Close Drawing to make the boundary a complete enclosed space. |
 |
|
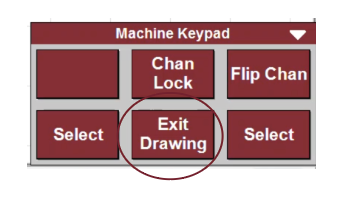
To exit draw boundary, use the Exit Drawing button. Note: If using the mouse, right click twice to Close Drawing and Exit Drawing. |
 |
|
Reminder: When drawing a boundary in Stand Alone Mode, follow the same process except use your mouse to draw and click points for the boundary. Right click to close the boundary. A second right click closes Draw Boundary feature. |
If a perfectly shaped boundary is desired, use the channel locks to draw the boundary with the machine head. Or, turn on snap to grid in the status bar when using the mouse to create boundaries.
For more information about Boundaries, see this article.
Quick Start: Place a Pattern with Drag and Drop
|
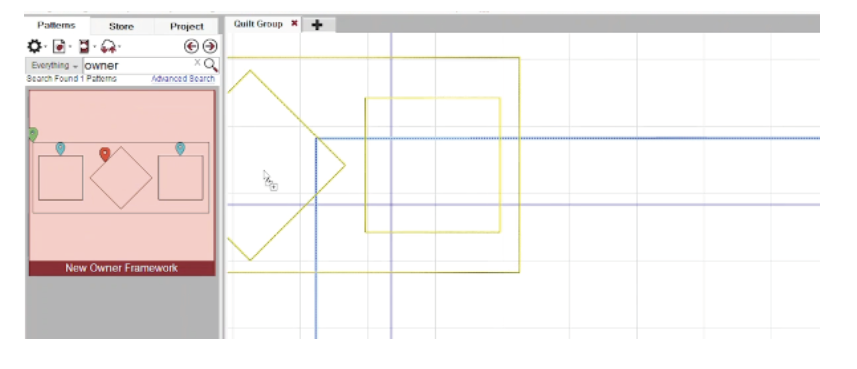
Click a pattern in your patterns tab to select the pattern and drag it to your boundary. As long as you are holding down your left mouse button, you will be able to move the pattern. |
 |
|
Once you have found the correct location, let off the mouse to place the pattern. Use the handles to adjust and move the pattern. |
 |
|
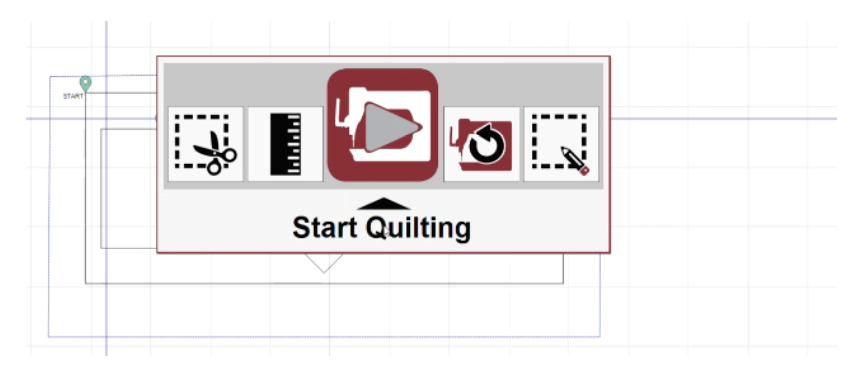
Mode to Start Quilting and select it. After the machine moves to the pattern start point, pull up the bobbin thread using the floss method and select Continue. Select Pause to temporarily pause stitching at any time, such as to trim threads or check the quilting. Select Resume to continue. |
 |
|
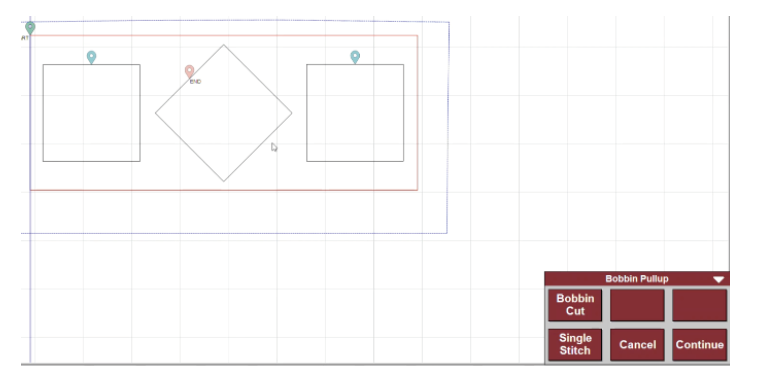
As the machine stitches, the pattern will turn red indicating portions that have been stitched. Once the stitching is complete the system will prompt you to pull up the bobbin thread. Do so using the push pull method. Select Continue to go to the next stitchable pattern in your quilting area if applicable. |
 |
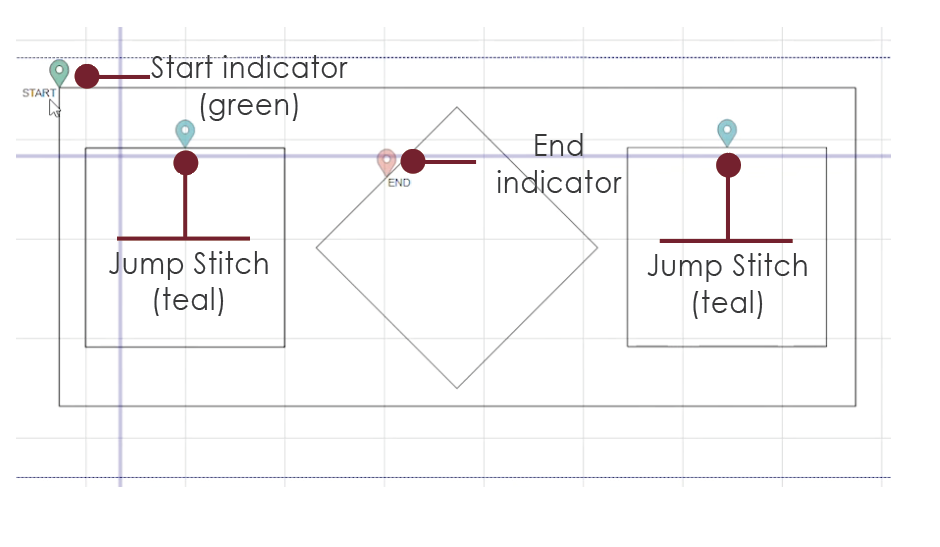
Jump Stitches and Markers
Jump stitches occur when a pattern is not connected at all points so continuous stitching is not possible. At a jump stitch, indicated by the teal marker on your pattern, the machine will stop stitching and require a bobbin pull up. Once you have pulled up the bobbin, select Continue and the machine head will move to the next part of the pattern and continue stitching. This process will repeat for each jump stitch.
Quick Start: Pattern to Boundary
CS can auto-resize a pattern to fit a boundary, and still allow the quilter to make final adjustments.
|
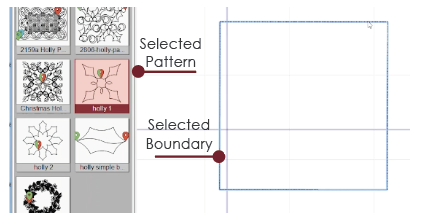
Draw a boundary. In the pattern tab or project tab, highlight the pattern. Note: When a pattern is selected in the pattern or project tab, the background changes color. Select the boundary. |
 |
|
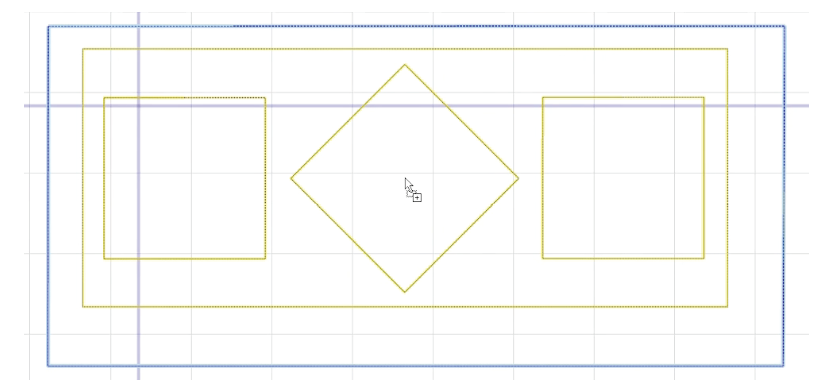
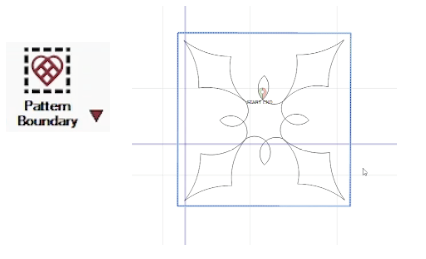
Click Pattern Boundary icon with the mouse or mode to Pattern Boundary. The pattern automatically scales to fit inside the boundary space. Make any necessary adjustments to the pattern using the handles. Mode to Start Quilting and select it. Pull up the bobbin thread and select Continue. |
 |
|
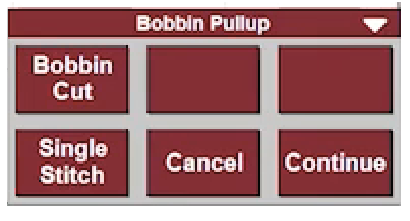
Once the stitching is complete, use the Bobbin Cut function or take a single stitch and pull up the bottom thread to cut it. Select Continue to go to the next stitchable pattern in your quilting area. |
 |
The Pattern to Boundary feature has selections that affect how the pattern is placed into the boundary. The options are shown by clicking on the carat (small triangle) next to the Pattern Boundary icon.
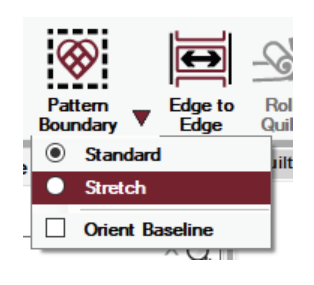 Standard means the aspect ratio of height to width of the selected pattern will be maintained, regardless of the shape of the boundary
- Stretch means the pattern dimensions (height and width) will be changed to fit the shape of the boundary, and could skew the pattern.
- Orient Baseline means the pattern will be rotated to match the boundary baseline.
For more information about Pattern to Boundary, see this article.
Quick Start: Place a Pattern using Repeat Patterns
Us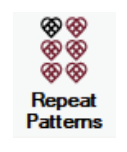 e Repeat Patterns to precisely position a pattern in a block. To correctly place the pattern, you can use a boundary. Or, you can use the crosshairs of your machine to orient your pattern. The process below shows a boundary to better visualize the process.
|
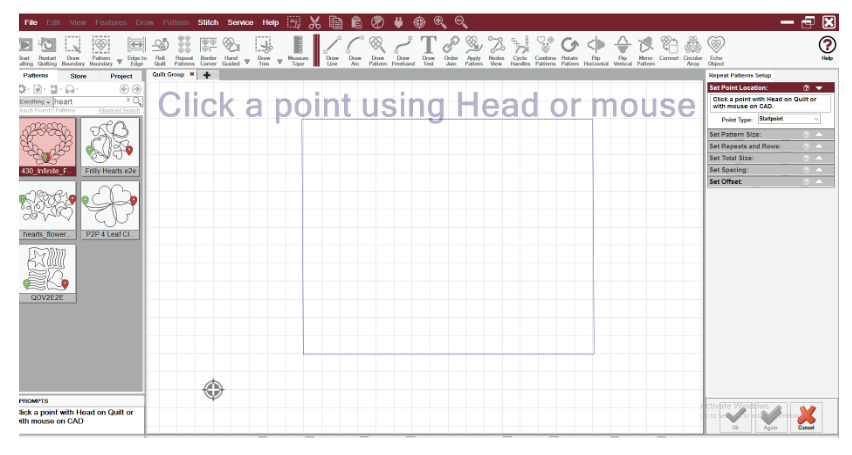
Select the pattern in the Patterns tab. Note: Multiple patterns can be chosen and the images concatenated, which will be covered in a later section. Select the Repeat Patterns icon. You will notice a setup box appears at the right. You will then be prompted to click a point using the head or mouse. |
 |
|
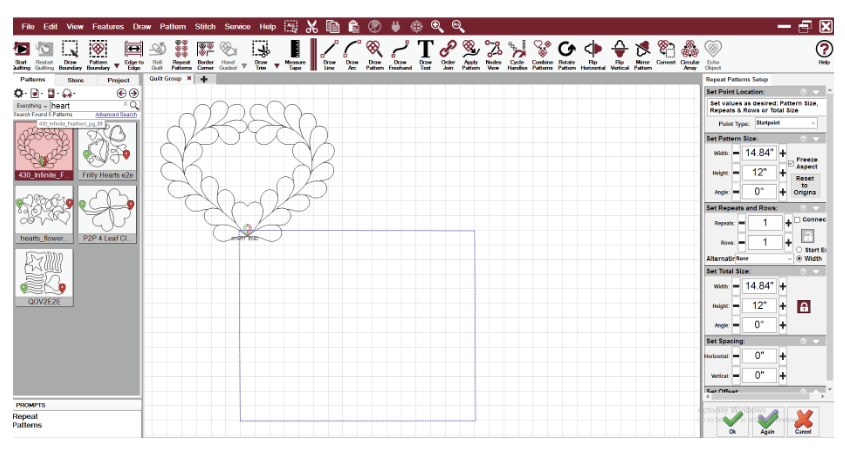
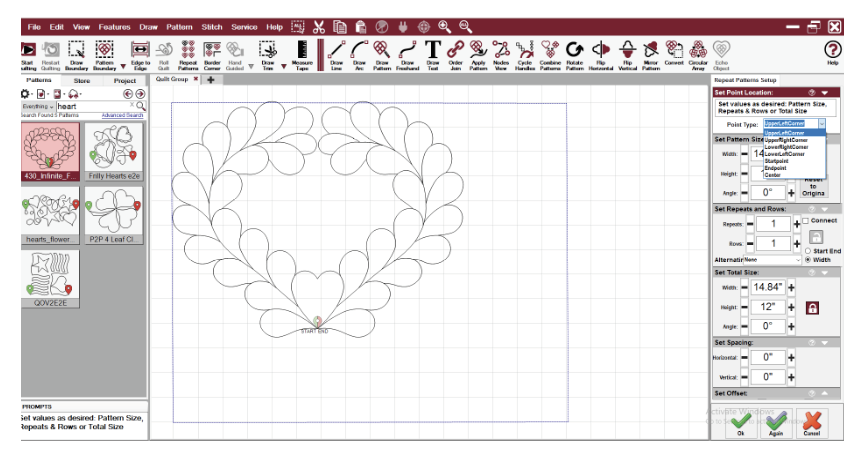
Click a point on the block (i.e. the upper left corner of a block) and the pattern will be automatically placed. Expand each section of the setup window to see setup options by clicking the arrow at the top of each section. Point Type determines which part of the pattern aligns with the needle or mouse click. The default point type is Startpoint. This means that Repeat Patterns orients the pattern with the pattern start at the needle location or the point clicked with the mouse. |
 |
|
You can adjust the Point Type by clicking the down arrow and selecting the best option for your pattern and the point you selected. Selecting UpperLeftCorner in this example, places the pattern in a more desirable location. |
 |
|
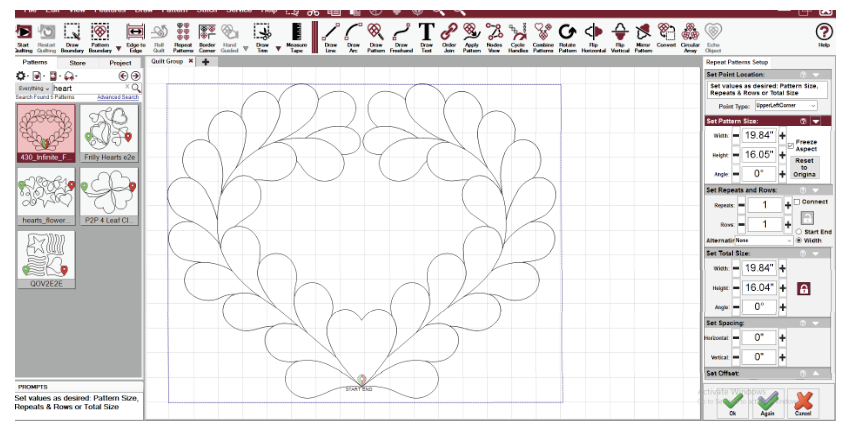
Use Set Pattern Size and other setup options to adjust the pattern size and shape. Once you have achieved the results you desire, select OK to accept the setup and close the setup window. Select Start Quilting to stitch the block. |
 |
For more information about Repeat Patterns, see this article.