
VIDEO | Right Click Patterns Preview
When you right-click a selected pattern on the CAD screen, you'll see a menu of options that affect the selected pattern(s). Some actions may be grayed  out if they are not currently available because of Stand Alone Mode or other factors.
The available actions are listed below. Many of these options are detailed in other articles. Links to more detailed information are provided.
Undo
This option will reverse the last action taken on the CAD screen. Other ways to access Undo include the keyboard shortcut of Ctrl + Z or the Undo icon or Edit dropdown menu item.
Copy
This option will make a copy of the selected pattern or patterns, ready to paste it elsewhere as needed. CS now allows patterns to be copied from one quilt group, and pasted into another quilt group, or even into another project. (Shortcut is Ctrl+C).
Cut
This option will remove the selected object from the CAD, while retaining a copy of it on the clipboard so it can be pasted somewhere else. (Shortcut is Ctrl+X).
Paste
This option will allow the cut (or copied) object(s) to be positioned and placed multiple times if needed. If multiple patterns were selected (with cut or copy) the pasted version will have combined them into one pattern. When Paste is initiated, the cut (or copied) patterns appear to be attached to the mouse pointer. Move the pointer (and patterns) to the desired location and left-click to place them. Repeat as often as needed.
When done, right-click to end the paste process. (Shortcut is Ctrl+V).
Delete
This option will delete the selected object. (Keyboard shortcut is the Delete key).
Select All
This option will select (highlight) all the patterns in the quilt group. (Keyboard shortcut is Ctrl + A).
View All
Changes the Zoom perspective so all patterns in the current quilt group are visible.
Rotate 90 Degrees
This action will turn or rotate the selected pattern(s). The default rotation setting is 90 degrees but this can be easily changed by sliding the mouse over the carat (black triangle) and changing the number. See the article on Rotate for more details.
Flip Horizontally
This action will reposition the pattern(s) by flipping it upside down over its axis. More information can be found in the Flip Horizontal, Flip Vertical and Mirror article.
Flip Vertically
This action will reposition the pattern(s) by flipping it over its axis essentially reversing left and right. More information can be found in the Flip Horizontal, Flip Vertical and Mirror article.
Mirror
This action will create a copy of the pattern(s) and place it across a drawn axis. More information can be found in the Flip Horizontal, Flip Vertical and Mirror article.
Rubber Stamp
This action will make an exact copy of the selected pattern or group of patterns to be placed on screen wherever you desire. More information can be found in the Rubber Stamp article.
Circular Array
This action will repeat a single design in a ring formation. More information can be found in the Circular Array article.
Echo Pattern
This action will create a new stitchable pattern around the selected original pattern. More information can be found in the Echo article.
Apply Pattern
This action will apply continuous stitching point-to-point patterns to a path pattern. More information can be found in the Apply Pattern article.
Nodes
This action will display the nodes of the selected pattern. More information can be found in the Pattern Handles and Nodes article.
Reverse Start/End
This action will switch the beginning and ending points of a pattern so it stitches in the opposite direction. More information can be found in the Reverse Start and End article.
Order Join
This action will find connected pattern pieces, modifying the stitching sequence and direction so the composite pattern stitches continuously. More information can be found in the Order Join and Snap article.
Convert
This action will change a pattern, trim or boundary to a different format. This right click menu item has additional options that you can see when you slide the mouse over the carat (black triangle).

More information can be found in the Convert article.
Fill
This action will modify an existing pattern, by using only the section of the pattern that exists inside, outside or between two boundaries. This right click menu item has two options (Fill Inside and Fill Outside) that you can see when you slide the mouse over the carat (black triangle).

More information can be found in the Fill Inside and Fill Outside article.
Toggle Pattern Sewn
This action will change the sewn status of the selected pattern or group of patterns. This right click menu item will be worded differently based on how many patterns are selected and what their current sewn state is.
![]()
More information can be found in the Toggle Pattern article.
Relocate
This action will realign the screen image with the quilt position. Whenever the screen and the quilt are out of alignment, you can use Relocate. This right click menu item has four relocate options that you can see when you slide the mouse over the carat (black triangle).
More information can be found in the Relocate Stitcher article.
Options
This right click menu item has seven settings that you can see when you slide the mouse over the carat (black triangle). These options affect how patterns on screen display or stitch.

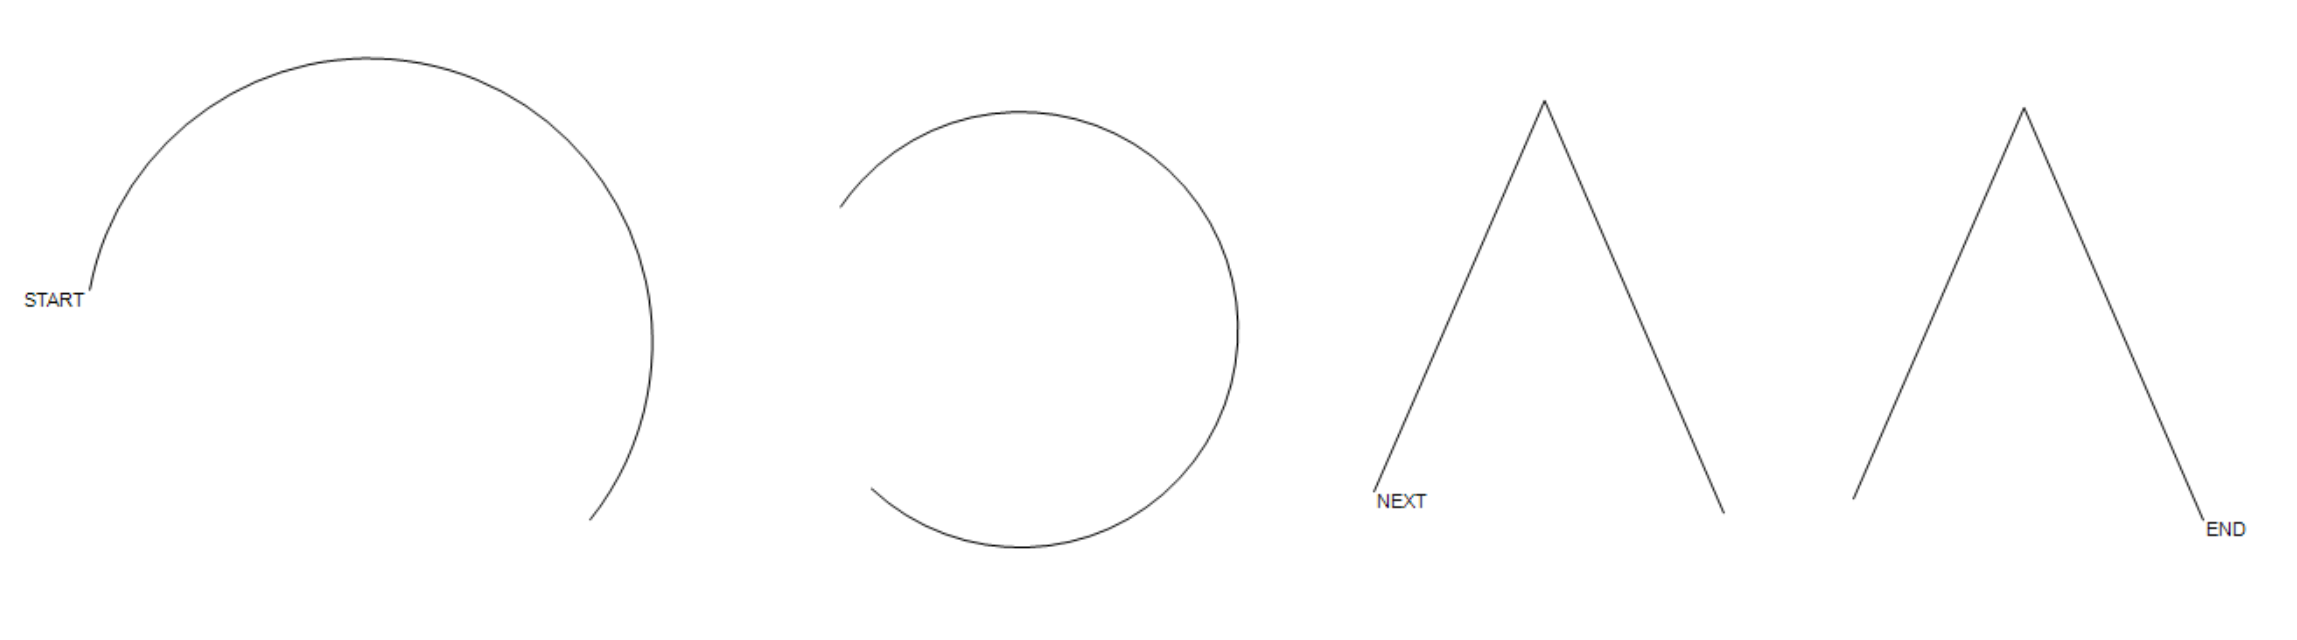
- Show Start/End/Next Text will display the Start, End and Next text indicators for the quilt group
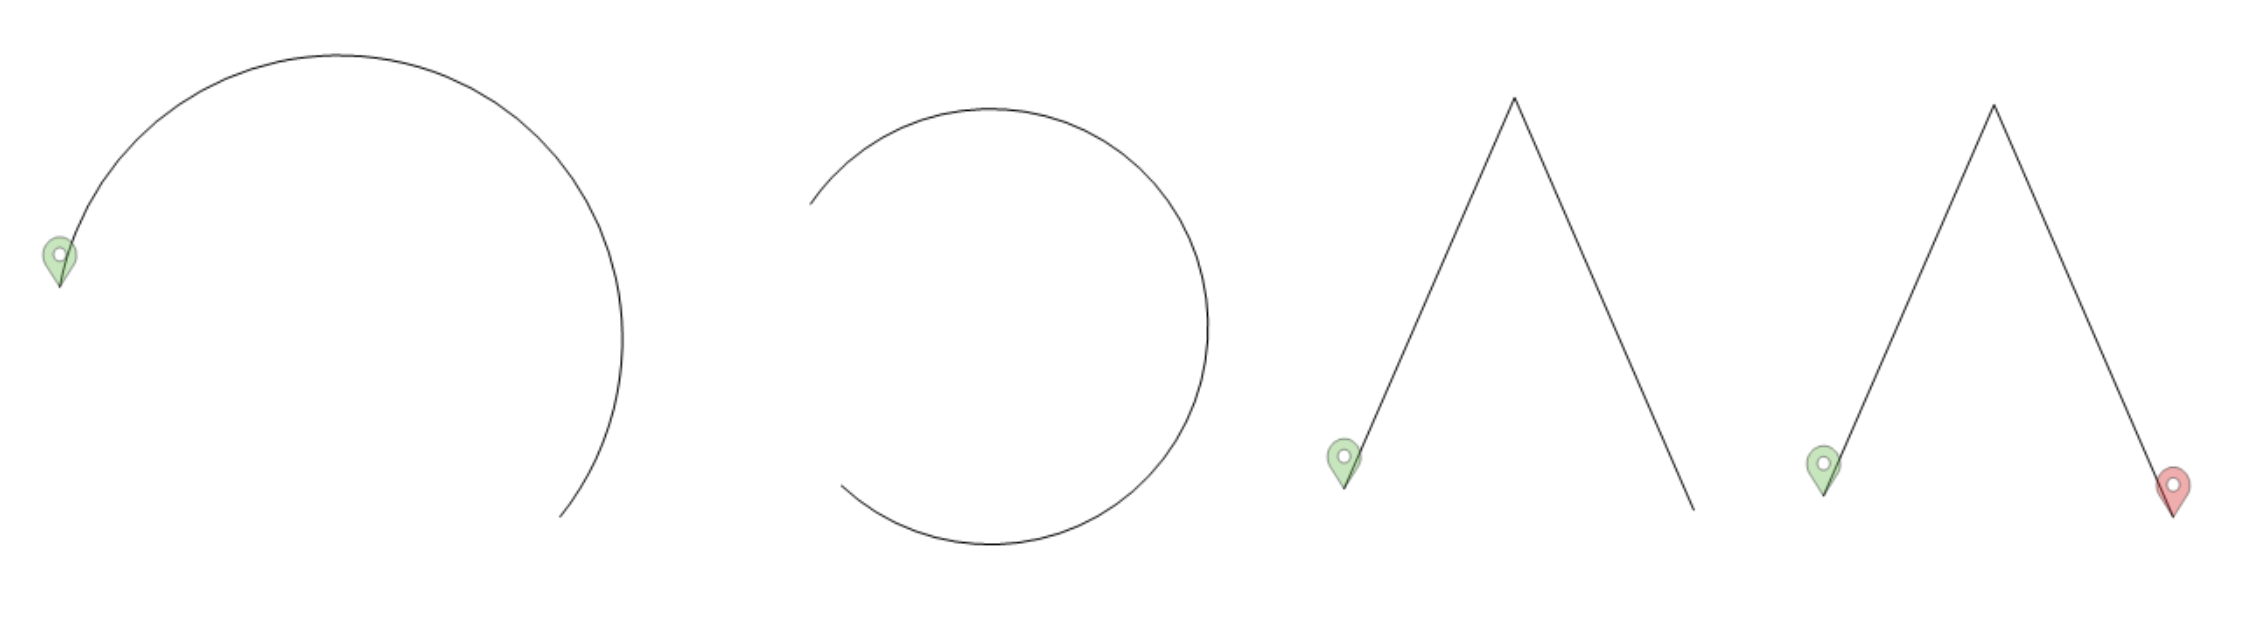
- Show Start/End will display the Start (green) balloon indicators for each pattern in the quilt group as well as the End (red) balloon indicator for the quilt group
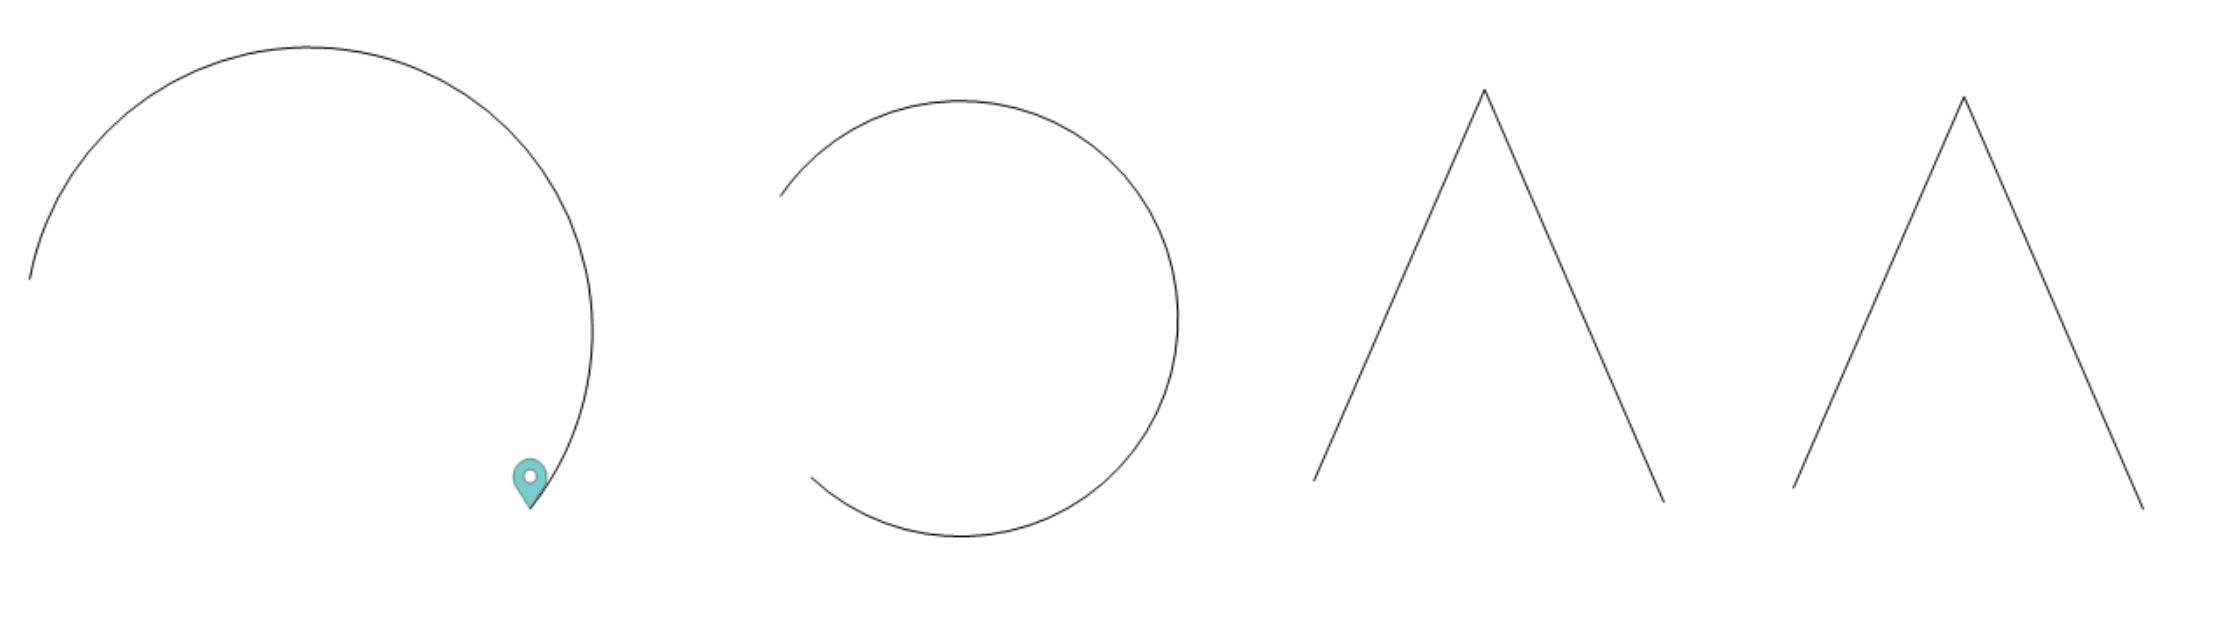
- Show Jumps will display any Jump (teal) balloon indicators for all patterns in the quilt group. This is not an indication of breaks between patterns but does mark jump stitches within a pattern.
- Show None will remove all text and balloon markers from the quilt group. This option will change to Show All when none are currently on.
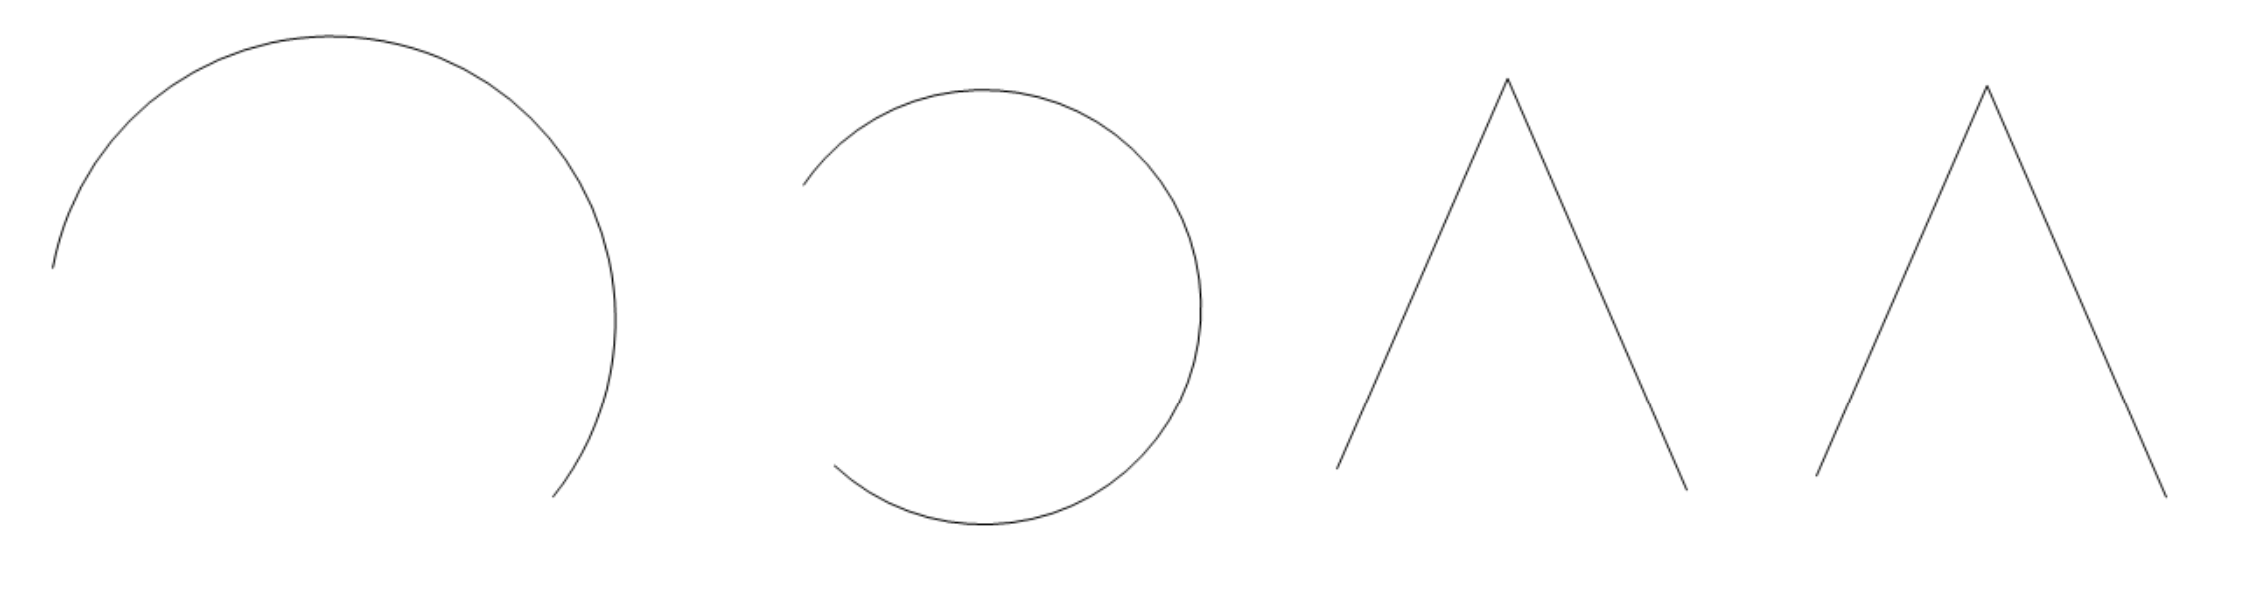
- Show All will display in the place of Show None when some indicators are turned off. Show All will display all text and balloon makers for all patterns in the quilt group.

- Show Designer Nodes will display a red dot anywhere a Designer Node exists in a pattern in the quilt group
- Remove "Designer Nodes" will remove any designer nodes from the selected pattern(s)
- Remove "No Sews" will remove any no sew markers from the selected pattern(s). No Sews were used in older versions of software to aid in placing patterns. They are no longer common but may occasionally still be found in patterns. In this image, the No Sews have been removed from the bottom copy of the feather design.

Pattern Properties
This option will open the properties window of the selected pattern(s). See the article on Pattern Menu and Properties for details.
Save Pattern
This option will allow you to save an altered or newly created pattern. More information can be found in the File Commands - Save Pattern article.